

Conflicting advice haunts septic maintenance: one voice swears a miracle additive will keep your tank running indefinitely, another insists you need pumping every three to five years no matter what. The pumping schedule is what’s actually correct. That hard truth became unmistakably clear when I arrived at a rural property two weeks after the new owners had closed on it. A cursory home inspection—one visual walkthrough plus a toilet flush—had given the system a clean bill of health. Ten days later, untreated sewage was flowing backward into their basement bathroom. The tank hadn’t seen a pump truck in over twelve years. The distribution box sat cracked and useless. One of the drain field laterals had collapsed entirely. Their repair tab landed at $6,800. If you’re evaluating a property’s septic system or you’re a homeowner trying to understand septic inspection what to expect, this guide covers exactly what you need to know before signing documents or writing checks.
Fifteen years in this field has taken me through pump chambers in January freezes, distribution boxes dug by hand in oppressive summer heat, and written assessments across hundreds of properties spanning three southeastern states. Nothing here is secondhand or theoretical—it comes from hands-on field experience. This post walks you through what a legitimate septic inspection actually involves and flags the cost-cutting compromises that certain inspectors make, the ones that leave homeowners facing five-figure repair estimates down the line.
Septic Inspection What to Expect: The Complete Process
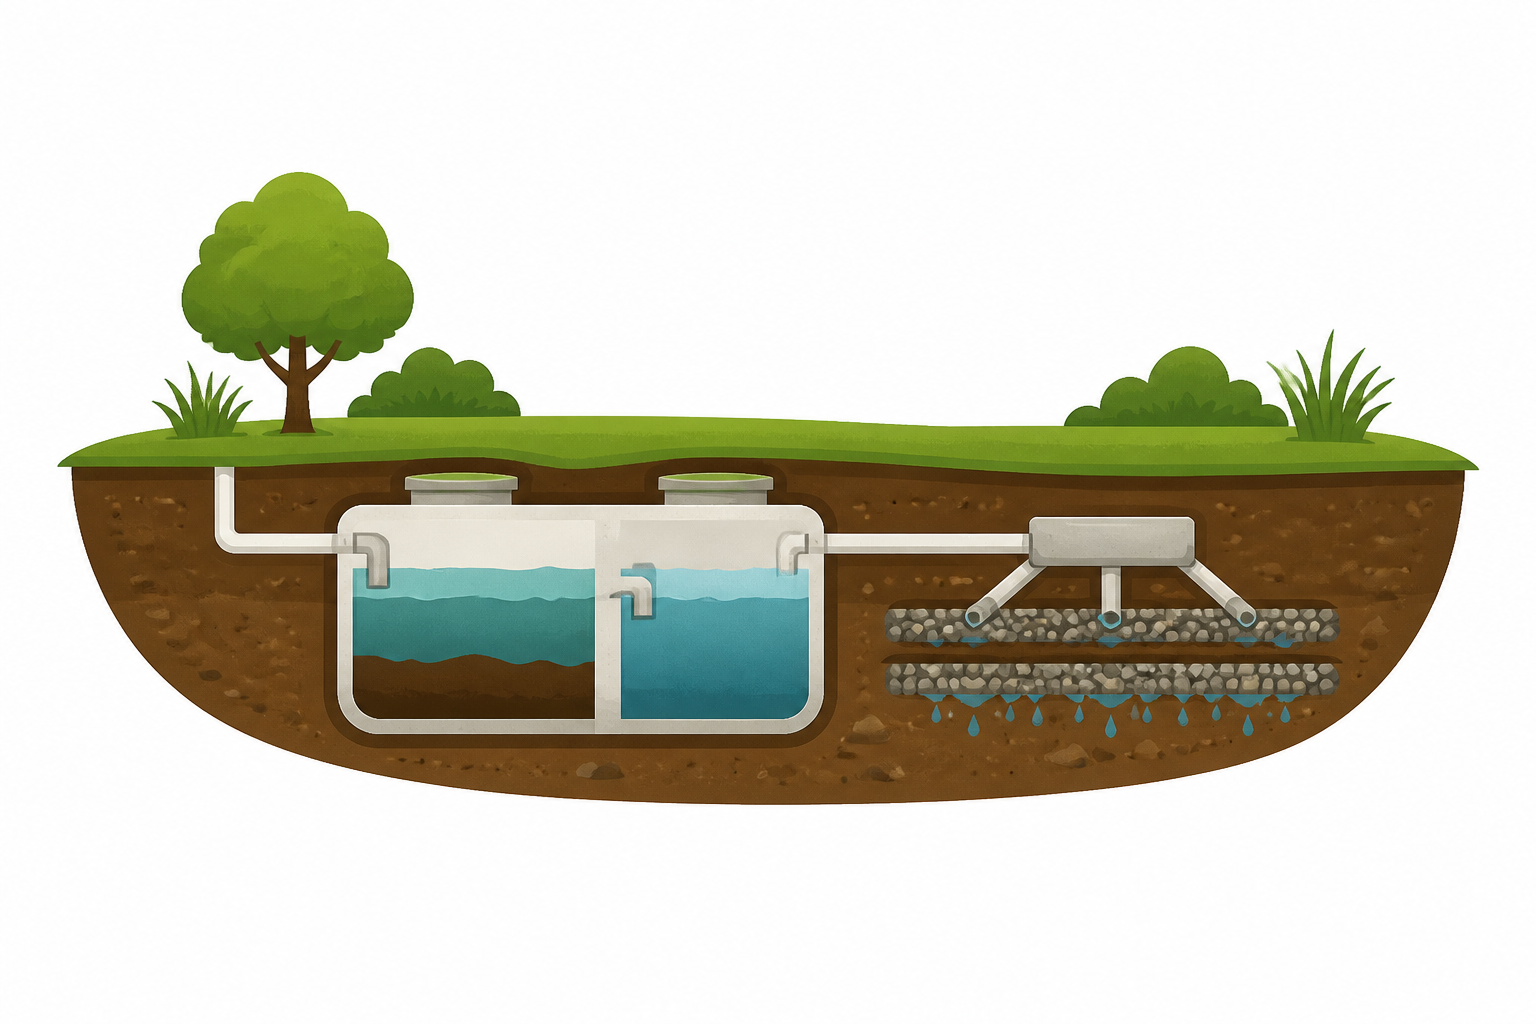
Let me state this plainly: a legitimate septic inspection bears no resemblance to a visual once-over paired with a toilet test. That approach is a surface-level walkabout, and it communicates virtually nothing of substance. An actual, thorough inspection requires you to pinpoint each system element, physically access and open the tank, measure liquid depths and accumulated solids, examine the internal baffles at entry and exit points, and survey the drain field for degradation markers. Each of these steps demands specialized equipment, regulatory awareness, and direct physical contact with the system.
Realistic timeframes for a complete inspection span ninety minutes to three hours, contingent on system design and complexity. Simple gravity-fed arrangements typically need less time. Pressure distribution networks or mound installations typically demand significantly more. Pricing across the region generally falls between $300 and $600. Anyone quoting $100 and promising completion in half an hour isn’t performing an inspection—they’re marketing liability protection. Avoid that offer.
The inspection should conclude with tangible documentation you can hold onto. That paperwork needs to itemize tank volume figures, approximated depths of accumulated solids and scum, structural status of the baffles, effluent height, and findings regarding drain field condition. An inspector who hands you nothing beyond a verbal summary is waving a second red flag as serious as structural tank deterioration.
What Gets Checked Inside the Tank
Tank assessment is where any inspection begins. I consistently work to uncover both lids—one at the inlet chamber and one at the outlet chamber—and I open each one without exception. Certain inspectors take the shortcut of opening just a single lid. I don’t do that. The outlet compartment baffle is frequently where initial degradation surfaces, and bypassing an outlet-side inspection means you never evaluate it.
Once I’m inside the tank, I use a sludge judge or a field-fabricated measurement tool to gauge accumulated sludge thickness. Standard recommendations under most state regulations specify that when sludge and scum together take up more than a third of the tank’s active liquid volume, the tank is due for pumping before you continue the inspection further. Simultaneously, I’m evaluating what the effluent itself looks like. Relatively transparent or lightly tinted liquid in the middle section indicates a tank functioning as designed. Gray, turbid, or particle-filled liquid in the outlet area points to a tank receiving more flow than it can handle or a downstream system that isn’t processing effluent correctly.
The baffle condition itself is foundational to system viability. Concrete baffles degrade steadily. Plastic tees and sanitary tees are more durable but can shift from their mounting points. I verify that the outlet-side baffle dips no less than 12 inches beneath the liquid line—this spacing is the standard mechanism that prevents particulate matter from flowing onward into the drain field. A missing outlet baffle or one that’s severely compromised represents one of the most recurring sources of early drain field deterioration I encounter during inspections.
Tank Structural Integrity
Structural assessment includes identification of splits, tree root penetration, and the condition of access lids. Concrete tanks build fissures progressively throughout their operational span—particularly along seam points. A minor hairline fissure doesn’t necessarily spell immediate failure, but one that permits external groundwater entry creates major system difficulties. Groundwater seepage overtaxes the drain field and decreases the biological treatment happening inside the tank. I’ve inspected tanks where the water column was sitting six inches above the designed outlet elevation—completely saturated by incoming groundwater, making the tank essentially nonfunctional.
How the Drain Field Gets Evaluated
Drain field analysis is where inspections become demanding—and where cost-cutting shortcuts flourish most noticeably. A rigorous drain field evaluation encompasses both surface observation and a test involving actual water flow. The external examination catches tender or waterlogged patches of earth, odors typical of wastewater, disproportionately dense plant growth running along buried lines, and visible pooling or effluent seepage at ground level. Each represents signal of system distress or active failure.
The water-flow test forces gallons—ordinarily fifty to one hundred—through the system while you track the tank’s behavioral response. You’re gauging whether effluent height spikes abruptly or whether backup happens in the fixture lines. This methodology isn’t flawless, but it produces substantially more meaningful data than examining ground vegetation alone. I learned this through painful experience early in my work when I signed off on a system using only surface-level examination, and three months into occupancy by a five-person family, it collapsed. Partial accountability for that failure rested with me, and since that day, I’ve mandated a flow test as a non-negotiable component of every inspection I conduct.
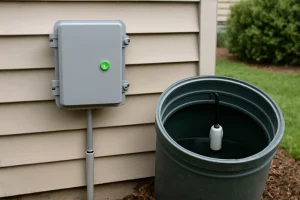
On mound assemblies and pressure-distribution configurations, I examine the pump station. The motor unit, sensor switches, and audible warning apparatus each require functioning status. I manually trigger the high-water warning apparatus during every single assessment. An inactive warning system frequently indicates an unnoticed pump malfunction, and unnoticed pump failure generally translates to a saturated drain field by discovery time.
Distribution Box Inspection
Gravity-type systems ordinarily contain a distribution chamber—commonly called a D-box—responsible for apportioning treated effluent across multiple lateral arms. Fractured D-boxes show up with remarkable frequency. Unequal lateral loading represents another widespread issue, where a single lateral line bears the majority of the flow while neighboring lines remain dormant. Whenever circumstances permit, I excavate to the D-box and open it. The work consumes roughly twenty minutes. Most homebuyers report shock upon learning their previous inspector never accessed it. In my experience across hundreds of systems, roughly three in ten D-boxes I unearth display noteworthy deterioration or functional issues.
The Inspection Checklist That Kept Me From Missing What the Inspector Missed
After that couple’s ordeal redirected my career trajectory, I recognized the need for a documented, methodical framework covering every component—tank condition, D-box function, lateral array, soil performance, groundwater proximity—ensuring nothing escaped documentation or fell through assessment gaps. A well-constructed checklist elevates vague confirmation language into a dependable, defensible archive.
What works
- Dual-copy carbonless sheets enable you to distribute one version to the property proprietor or buyer whilst retaining your own comprehensive record encompassing inspection dates, field remarks, and measurement data—circumventing the need for hastily snapped photographs or scrambled email transmission afterward.
- Compact 8.5″ x 5.5″ dimensions allow the form to slip inside a work apron or fieldpack side compartment, preventing the bulk and inconvenience of managing a full-sized clipboard when you’re submerged in tank work or navigating drain field terrain.
- A book containing 35 pre-perforated forms covers 35 separate inspections before you require replenishment—adequate volume to recognize recurring seasonal tendencies and establish comparative baselines across geographically proximate systems sharing comparable subsoil characteristics.
What doesn’t
- These represent standard-issue equipment inspection forms requiring field-by-field customization to capture septic-relevant measurements—tank internal depth, effluent appearance qualities, lateral alignment parameters, soil absorption performance indicators—rather than providing a pre-formatted septic-focused template.
- Carbonless sheet lifespan diminishes with extended use; subjecting them to outdoor conditions featuring mud exposure or water splash causes image degradation and diminished legibility by the third or fourth fieldwork cycle.
I’ll admit I almost went back to scribbling observations on the back of old receipts before I committed to using a proper form—the discipline of writing everything down felt tedious at first. But that habit has saved me from liability disputes and helped buyers understand exactly what they’re inheriting. Get the Detailed Driver’s Vehicle Inspection Report 10-Pack — a 2-ply carbonless form book with 35 sets per book in an 8.5″ x 5.5″ format and customize it for your septic checklist.
Detailed Driver’s Vehicle Inspection Report 10-Pack —
I keep my notes in one book while the buyer gets their own copy, same day.
Check Price on Amazon →This post contains affiliate links. As an Amazon Associate, I earn from qualifying purchases at no extra cost to you.