The first time I watched a homeowner spend four hours digging by hand just to pump their tank, I made a silent promise: I’d tell every client about septic tank riser installation DIY before they ever touched a shovel again. That job cost him a full Saturday, two broken blisters, and $200 in labor just for the digging portion alone. The pump-out itself was another $350. A riser kit would have cost him less than $100 and taken two hours to install — once. After 15 years inspecting and consulting on rural septic systems, I still see this mistake repeated constantly.
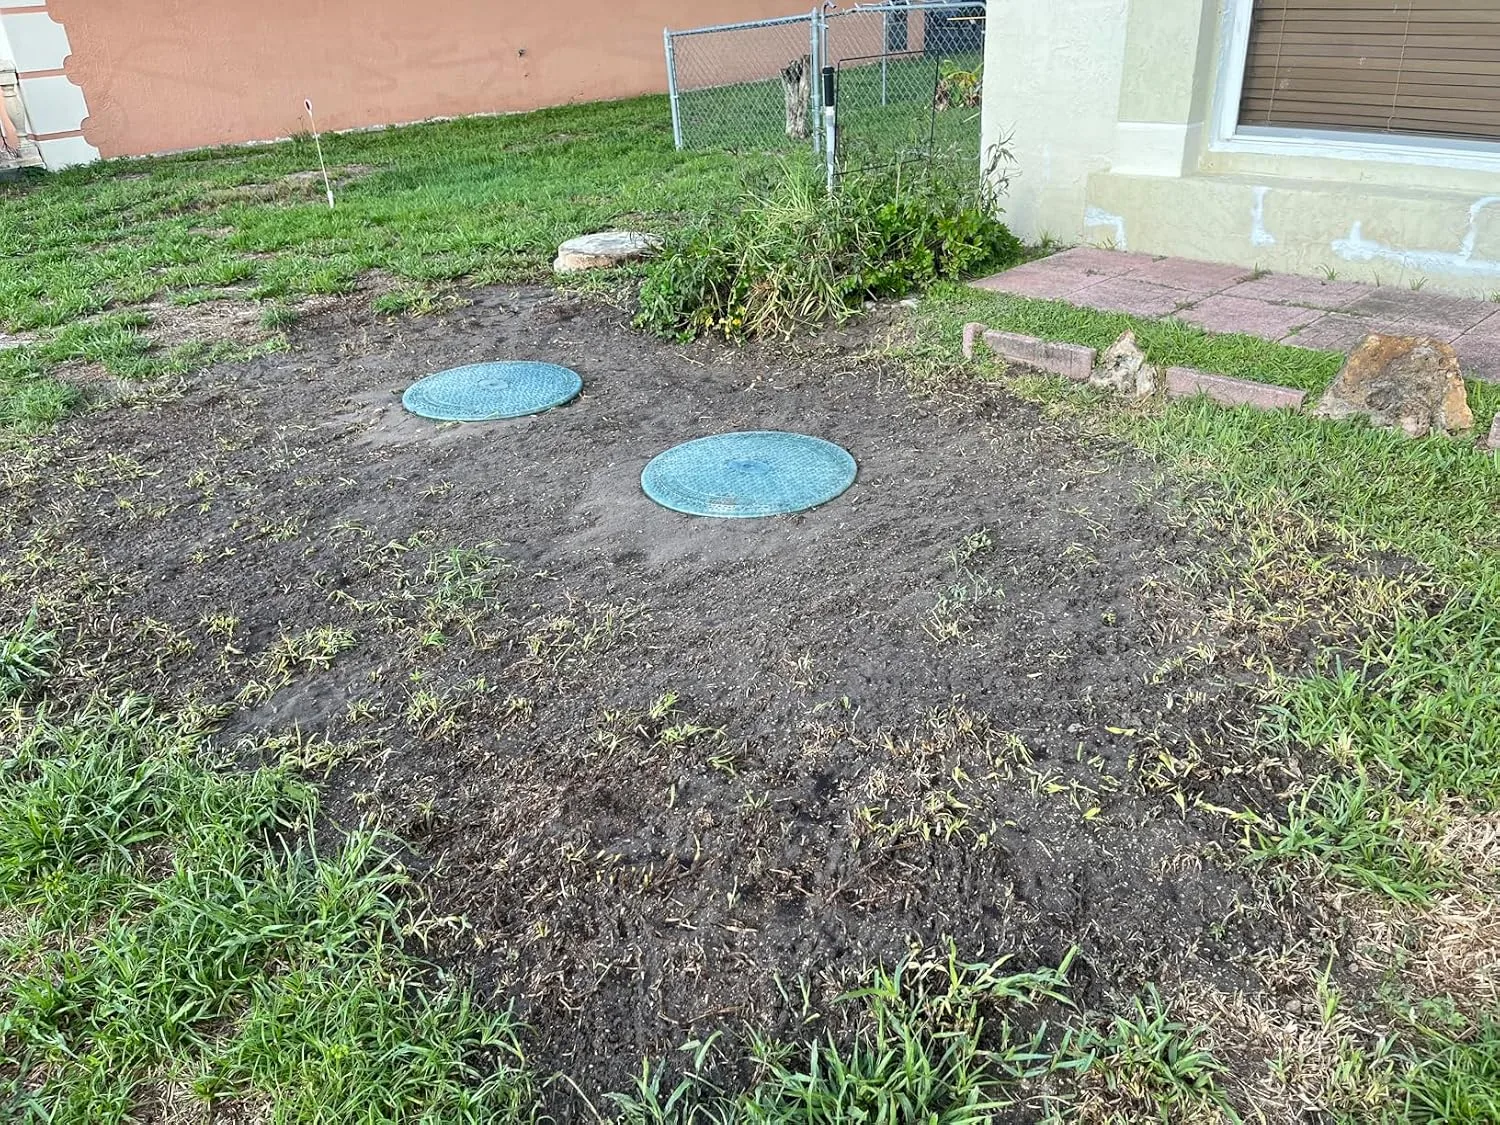
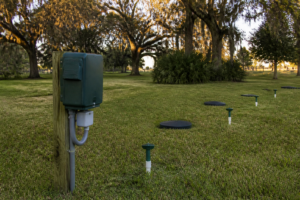
Here’s what most homeowners don’t realize: your septic tank lid is probably buried 12 to 24 inches underground. Every 3 to 5 years, someone has to excavate down to it. That’s true for pump-outs, inspections, filter cleaning, and any troubleshooting. A riser brings that access point up to grade — flush with your lawn. No digging, ever again. It’s one of the highest-value upgrades you can make to a rural property, and it’s well within DIY reach for most homeowners.
In this post, I’ll walk you through exactly how to do it right. I’ll cover materials, measurements, installation steps, and the mistakes that come back to bite people later. I’ll also recommend the specific kit I’ve installed more times than I can count, and I’ll be honest about when this job genuinely requires a professional.
Why a Septic Tank Riser Is Worth Every Penny
Let me give you a real number. Over the lifetime of a septic system — typically 25 to 40 years — you’ll pump that tank roughly 8 to 13 times. If excavation adds $150 to $250 each visit (and in my market it often does), that’s potentially $2,000 to $3,250 spent doing nothing but digging a hole. A quality riser kit runs $75 to $150. The math is not complicated.
Beyond cost, there’s the issue of lawn damage. Every excavation tears up grass, compacts soil, and risks disturbing the tank’s inlet or outlet baffles if equipment gets too close. I’ve seen backhoe operators crack concrete lids on tanks that weren’t properly located. That’s a repair bill that makes a riser look like the deal of the century.
In my experience, adding a riser also improves inspection quality. When a pumper or inspector can pop a lid in 30 seconds, they actually look at things carefully. When they’ve just spent 45 minutes digging, they’re already tired and behind schedule. Access matters for the quality of every service visit your system will ever receive.
What You Need Before Starting: Materials and Measurements
Before you order anything, you need two measurements: the diameter of your tank’s access opening and the depth from the top of the tank to grade. Most residential tanks have access ports that are either 20, 24, or 30 inches in diameter. Measure yours — don’t guess. The depth from the top of the concrete to your finished grade determines how tall your riser stack needs to be.
I learned this the hard way on one of my first installs. I eyeballed the depth at about 12 inches and ordered a single 12-inch riser. When I actually excavated, the top of the tank sat 17 inches down. I had to make a second parts run. That wasted half a day and cost me an extra $40 in fuel. Measure twice, order once.
Tools You’ll Need on Hand
- Round-point shovel and spade
- Tape measure (rigid, at least 25 feet)
- Circular saw or jigsaw with masonry or plastic-rated blade
- Butyl rubber sealant or the adhesive specified by your riser manufacturer
- Stainless steel screws (most kits include these)
- Safety glasses and work gloves
- Knee pads (you’ll thank me)
Regarding materials: polyethylene risers are my go-to. They don’t crack like concrete, they don’t corrode like metal, and they seal reliably. Most codes — including those aligned with the NSF/ANSI 61 standards many states adopt — require watertight risers with secured lids. Specifically, you want a system that won’t allow surface water infiltration or create a confined-space hazard. A loose, poorly sealed lid can become a safety issue and a code violation.
Septic Tank Riser Installation DIY: Step-by-Step
Start by locating your tank precisely. Most inspection reports note the location, but if you don’t have one, use a soil probe or a thin metal rod to probe for the concrete edge. Once located, dig down carefully — by hand, not with machinery. You’re exposing the top of a tank that may have brittle concrete or cracked edges. Take your time.
Once the lid is exposed, clean the perimeter thoroughly. Remove dirt, debris, and any loose concrete. Your riser needs a clean, flat surface to seal against. If the existing concrete collar or lid has significant cracks, stop here and call a professional. Installing a riser over a compromised lid creates a false sense of security and could allow ground water intrusion into your tank — or worse, a structural failure.
Cutting the Existing Lid (If Required)
Some tanks have a solid concrete lid with no pre-cut access hole. In that case, you’ll need to cut a circular opening. Mark your circle using the riser’s base as a template. Cut carefully with a concrete blade on a circular saw. Wear eye protection — concrete dust is no joke, and fragments fly unpredictably. Wet-cutting reduces dust significantly if you have access to water.
Other tanks already have a smaller cast iron or concrete ring in place. If it’s smaller than your riser diameter and structurally sound, you can often core around it or use an adapter ring. Check your riser manufacturer’s specifications — most quality kits include guidance for common scenarios.
Seating and Sealing the Riser
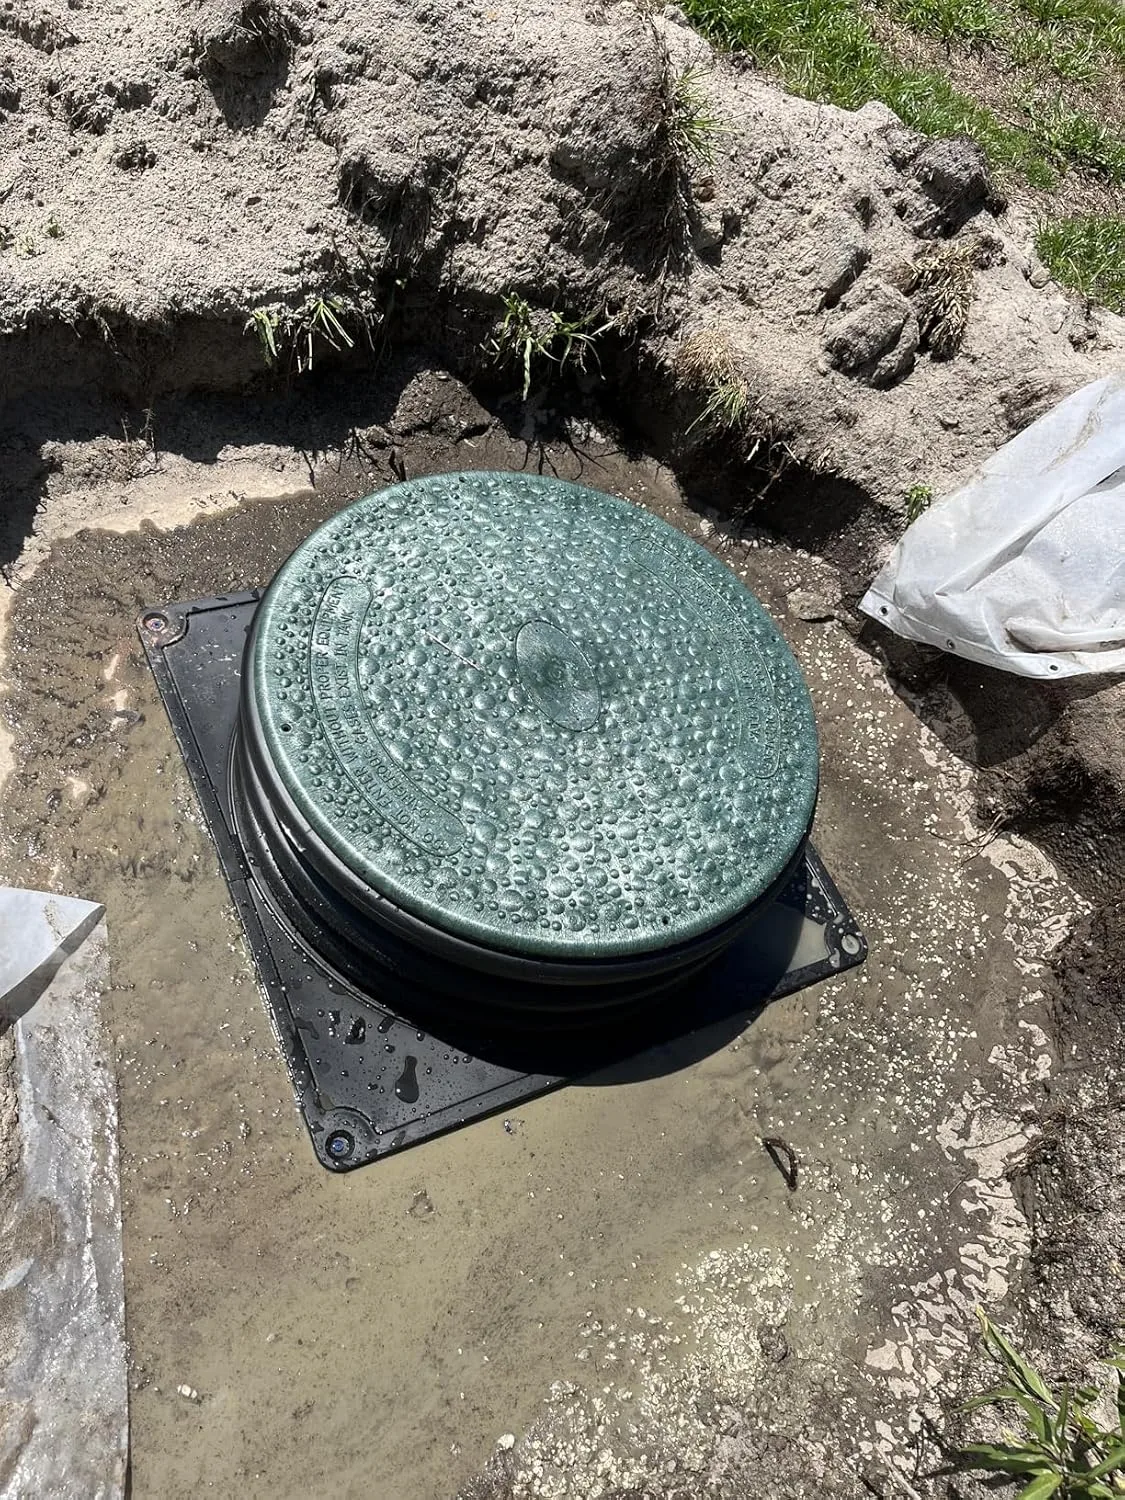
Apply your butyl rubber sealant around the perimeter of the opening on the tank lid. Press the riser base firmly into position. For polyethylene risers on concrete tanks, I always run a bead of sealant on both surfaces — top of the concrete and the underside of the riser flange. Then I secure it with the provided screws or anchor bolts driven into the concrete collar.
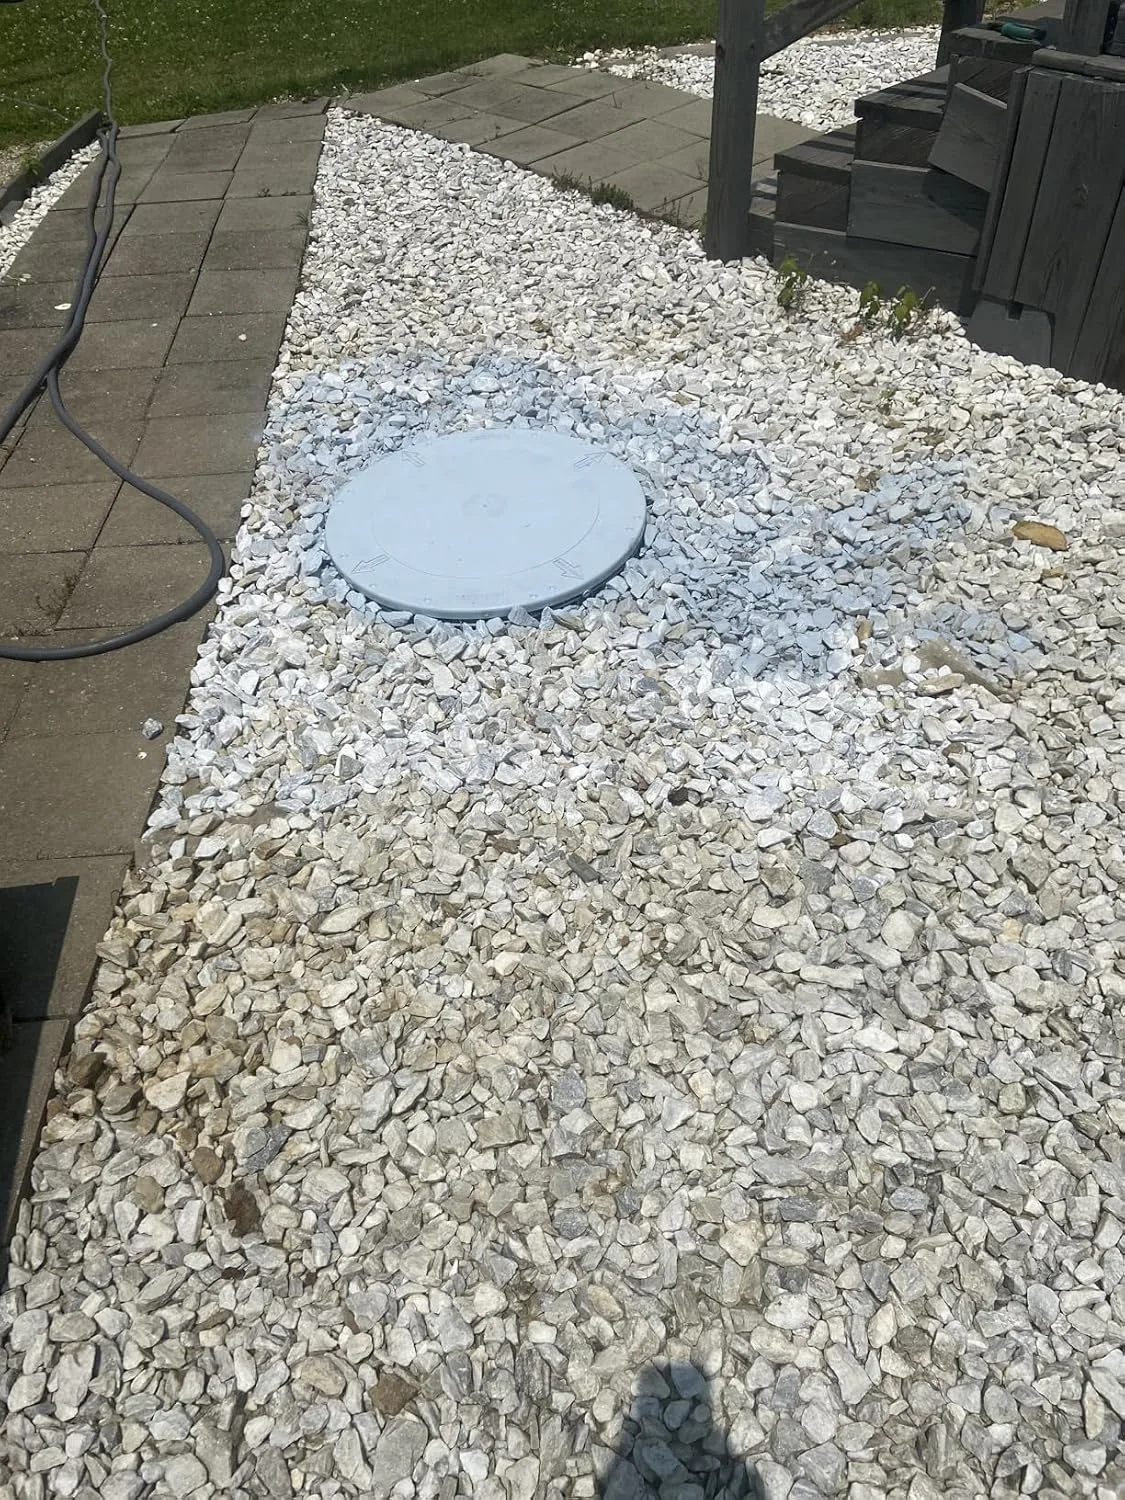
If you need multiple riser sections to reach grade, stack them and seal each joint the same way. Most systems use a gasket between sections. However, I still add a thin bead of sealant as insurance. Once everything is seated, backfill around the riser carefully, compacting soil in 4-inch lifts so you don’t shift the riser out of plumb. Finish with the lid sitting at or just slightly above grade — never below it, where water can pool around the cover.
The Kit That Turned My Worst Digging Day Into a Two-Hour Install
A riser eliminates the guessing game of finding your tank lid every time the pump truck arrives. Without one, you’re either marking the spot with a stake (which gets lost), digging blind, or hoping you remember where you dug last time.
What works
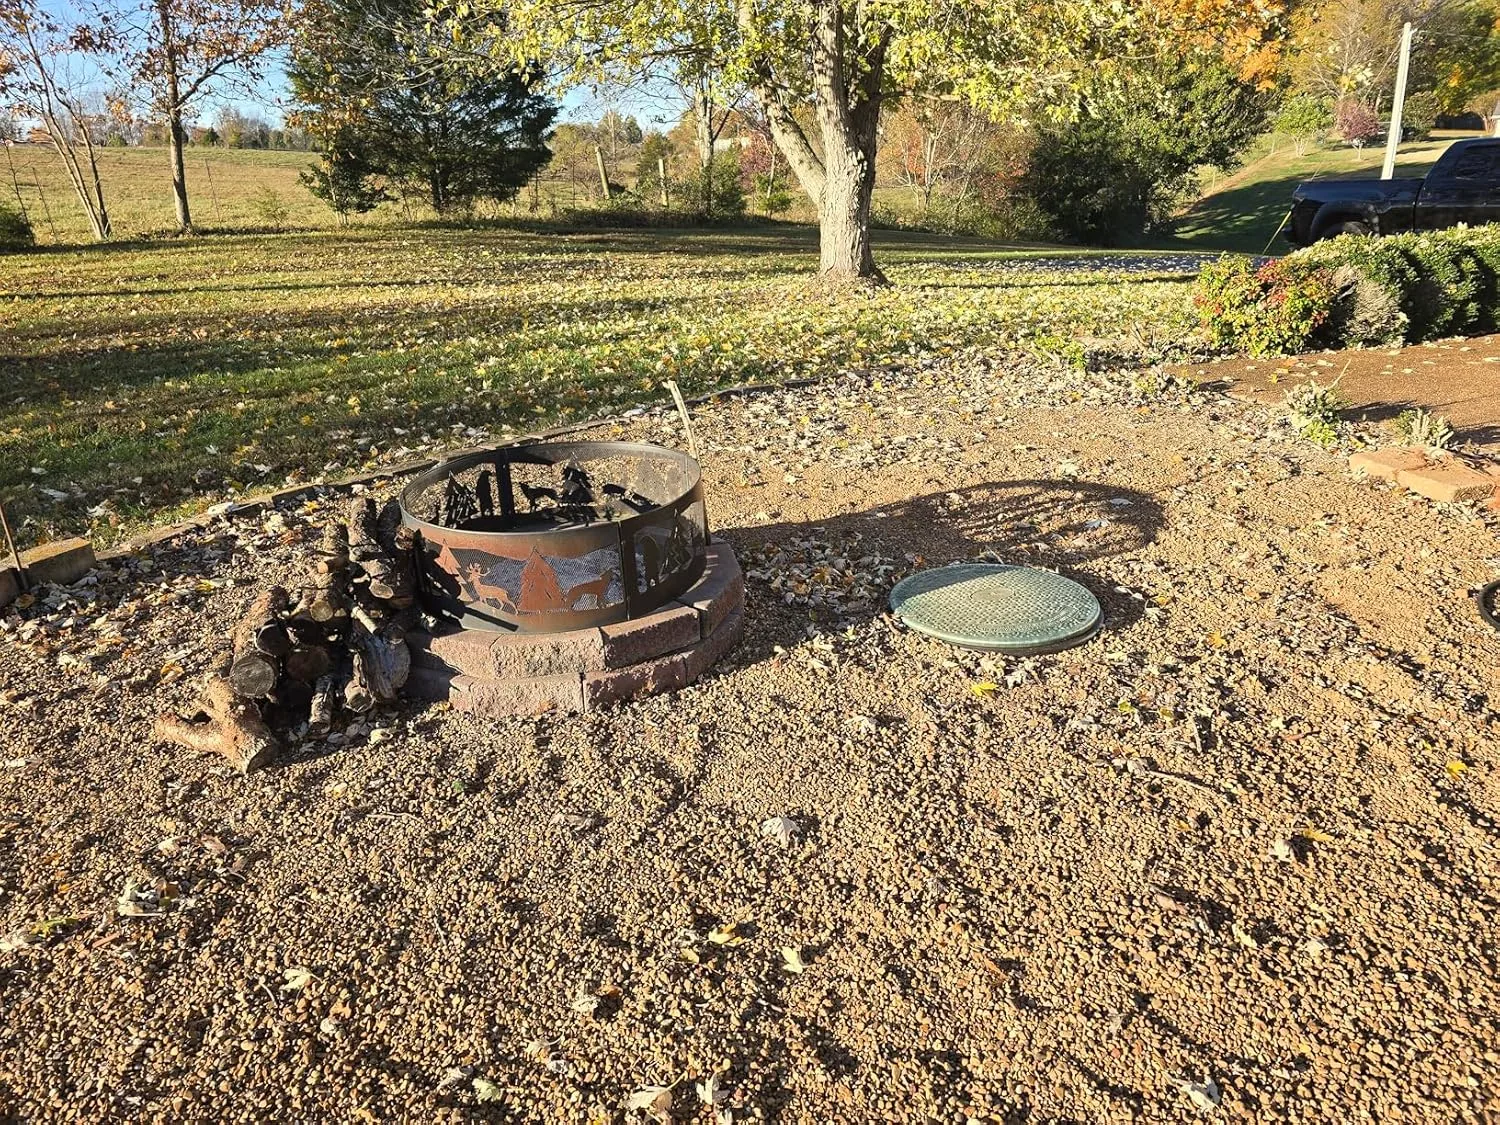
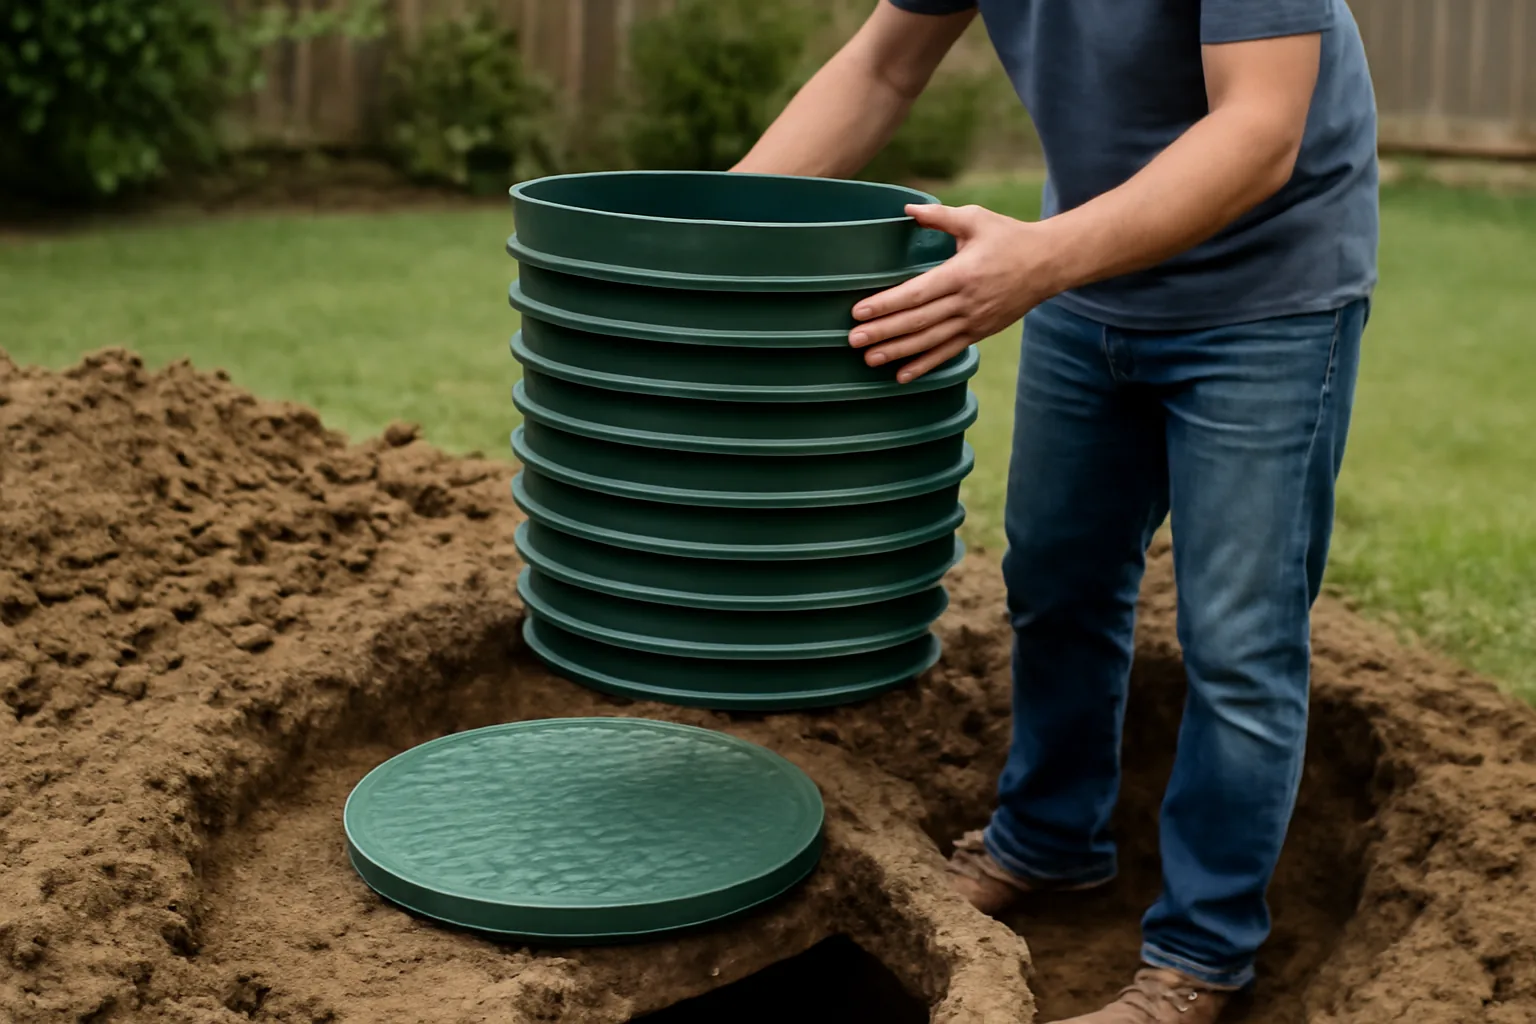
- The 13-inch height gives you clearance above ground and soil—I’ve never had to dig more than a few inches to access it on pump day.
- 23.5-inch diameter matches most standard residential tanks without custom cuts or adapter rings.
- Installation is genuinely two hours with basic tools—no concrete work, no special skills, just careful excavation around the existing lid.
What doesn’t
- You still need to dig down to the tank initially—this kit doesn’t eliminate that first excavation, it just prevents you from repeating it for the next 20 years.
- If your tank is an older design or oversized model, the diameter might not seal perfectly without modifications—measure twice before ordering.
I had a moment of doubt halfway through my first riser install when the fit felt tighter than expected around the existing lid, but a little patience and careful wiggling got it seated properly without forcing anything. If you’re ready to stop digging, grab the Aero-Stream AS-R13 Septic Tank Riser Kit — 23.5″ Diameter x 13″ Tall.
This post contains affiliate links. As an Amazon Associate, I earn from qualifying purchases at no extra cost to you.