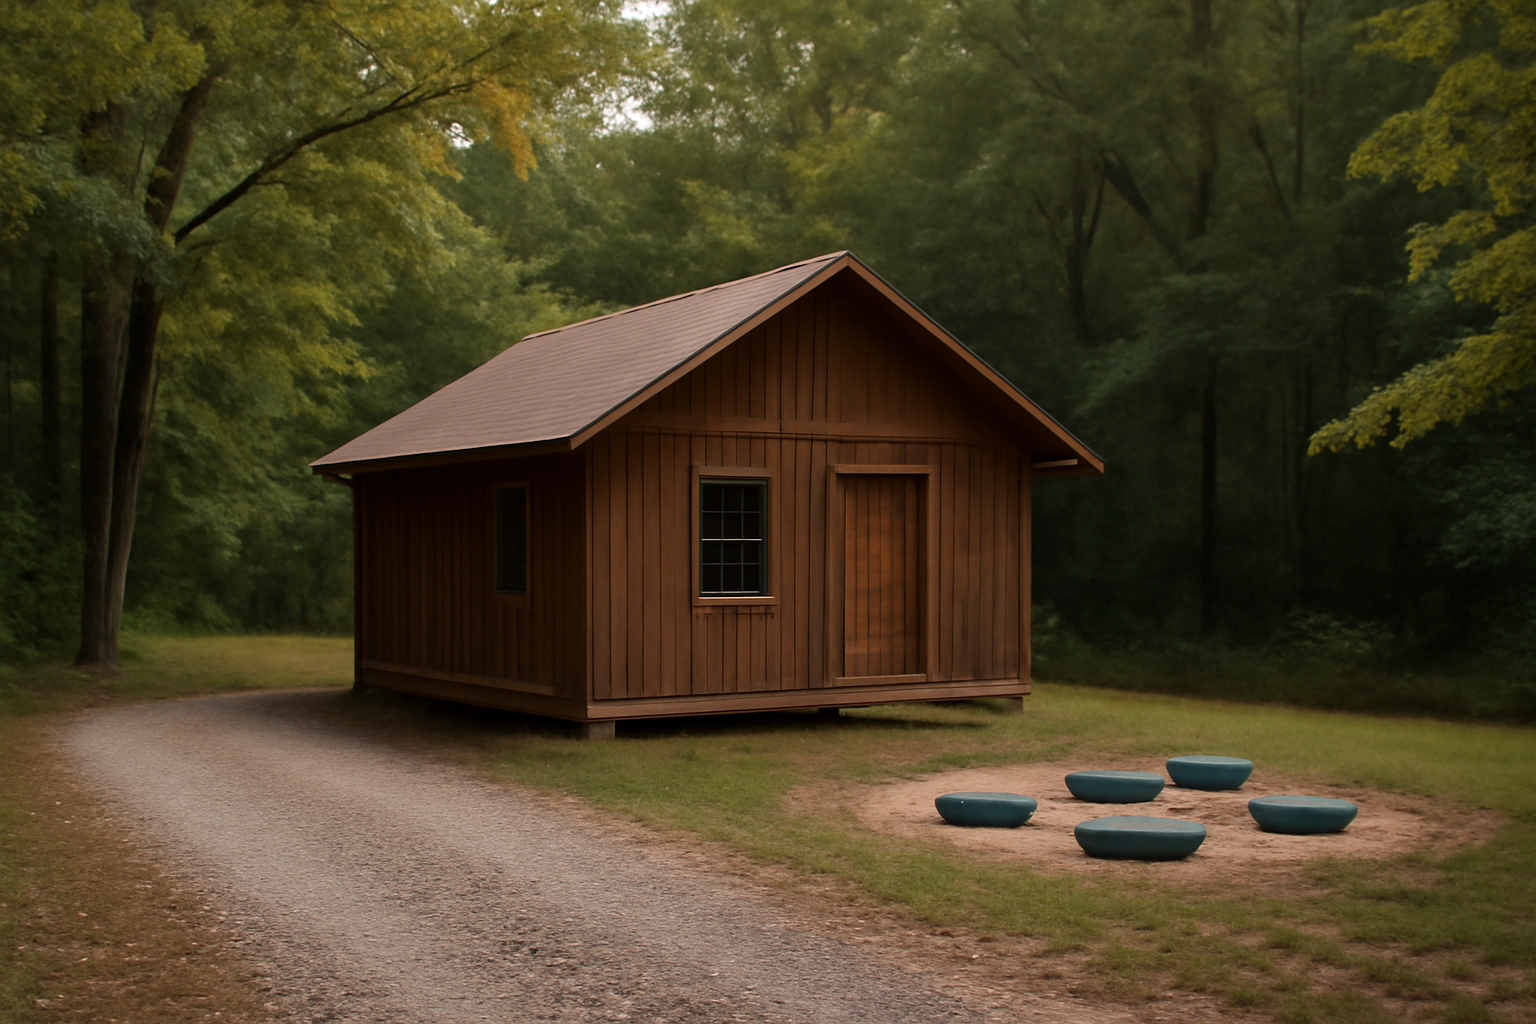
A cabin owner in the North Georgia highlands dropped $4,200 on a remote septic system three years ago, only to watch it seize up completely that February — frozen inlet line, sluggish drainfield, tank bacteria starved into dormancy. He’d get a complete system redesign, not a repair bill. I’ve watched this same scenario unfold dozens of times across the rural Southeast: a well-intentioned installation that treats a seasonal property like a full-time residence and fails spectacularly as a result.
The real issue isn’t technical complexity. Most installers simply scale down a conventional system without accounting for the mechanics that actually kill low-use tanks — biological collapse during idle stretches, biomat formation from surge loading, pipe freezing when flow stops. Over the past 15 years of hands-on work in Alabama, Tennessee, and Georgia backyards, I’ve figured out the specific design moves that prevent these failures from the start.
What follows is a practical breakdown of remote cabin septic engineering: tank sizing choices, drainfield protection strategies, winterization that sticks, and cost figures you can use right now. No theory, no shortcuts — just what works in the field when a cabin sits empty six weeks at a time.
Why Intermittent-Use Systems Collapse Under Different Pressures Than Year-Round Homes
Conventional septic sizing assumes a daily hydraulic load — roughly 100–150 gallons per day per bedroom, per EPA tables and state health code. That steady flow sustains the tank’s bacterial ecosystem, maintains scum and sludge separation, and keeps effluent moving through the drainfield at an absorption rate the soil can handle. Shrink that load to weekends or seasonal bursts, and the system’s fundamental balance disintegrates.
What happens inside a stalled tank is brutal. Extended idle periods decimate the bacterial colony. Then you arrive Friday evening and dump a full weekend’s sewage into a biologically exhausted vessel. Undertreated effluent floods the drainfield. The soil’s microbial layer — the biomat — thickens into a black, impermeable sludge that chokes absorption. On cabin systems I’ve dug into after just three years of weekend-only use, that biomat was thick enough to slice with a knife. Replacing a failed drainfield in the Southeast runs $6,000–$12,000 depending on what’s underground.
Freezing is the second major failure mode and the one that catches most owners by surprise. Pipes that sit dormant for weeks lose the thermal protection that flowing effluent provides. I’ve seen 4-inch inlet PVC freeze solid in the Tennessee foothills because the cabin stood empty through December. One freeze crack can rupture baffles, shatter fittings, and back sewage into the house. Prevention costs a fraction of what repair demands.
Tank Selection and Capacity: Oversizing as Insurance
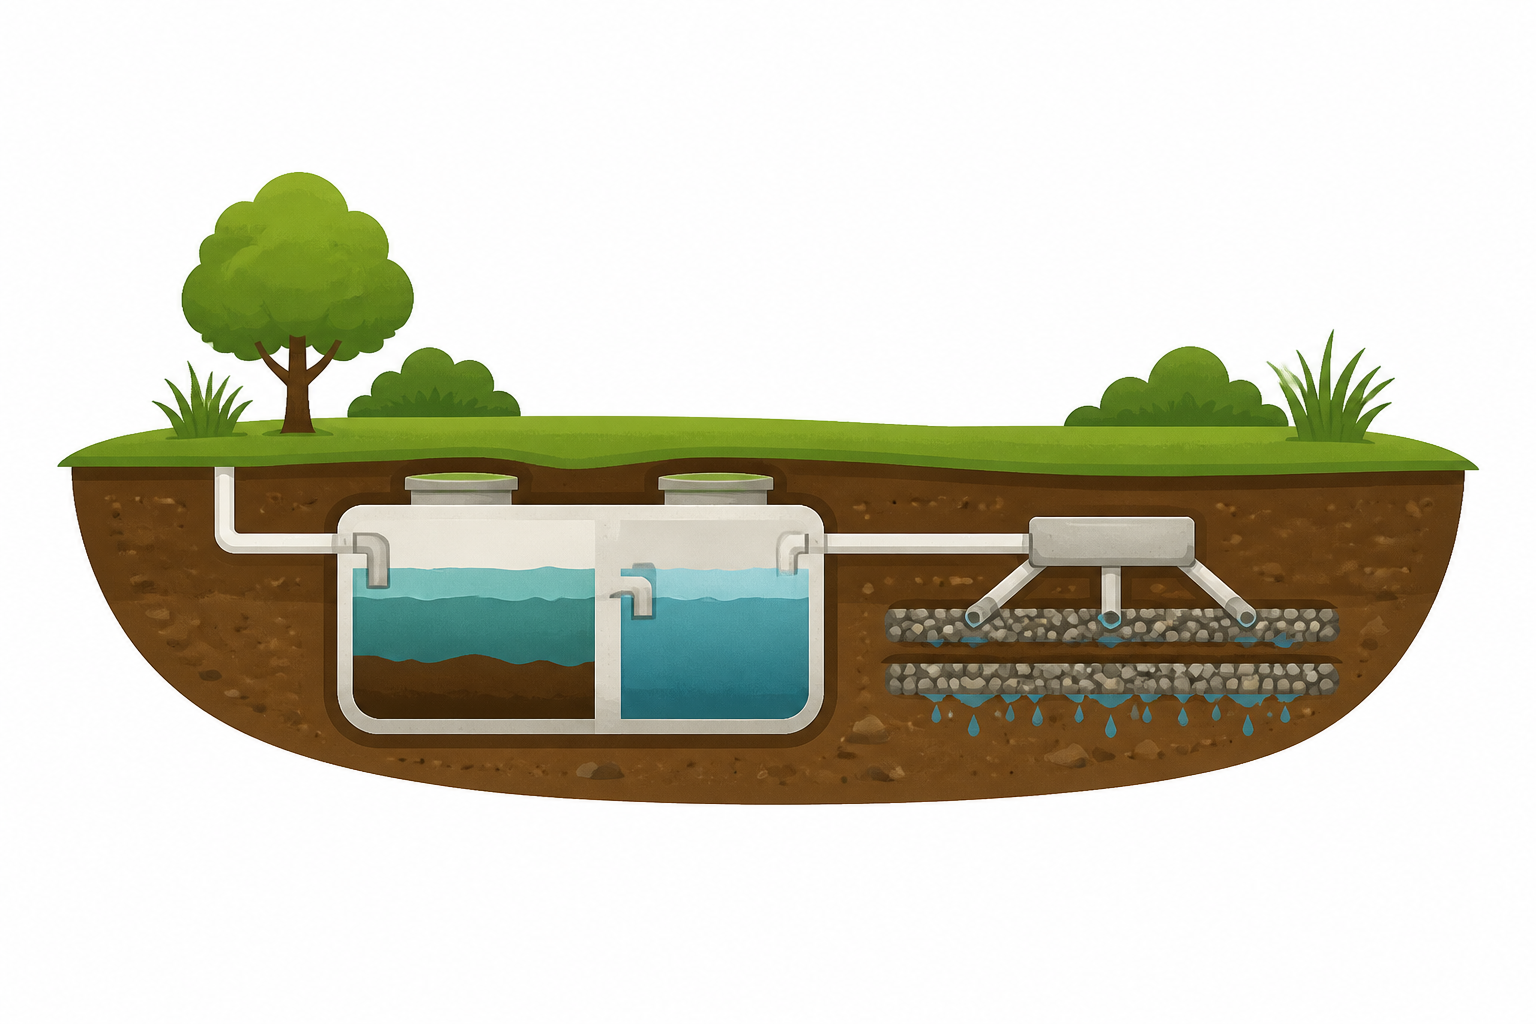
My core principle for every low-use installation: go larger than the minimum. A full-time two-bedroom Georgia residence might meet code with a 1,000-gallon tank. For a two-bedroom seasonal cabin, I specify 1,500 gallons minimum — often 1,250 even for a one-bed setup if terrain permits. The surplus capacity absorbs weekend guest surges and provides the bacterial culture with more forgiving hydraulic conditions during gaps in occupancy.
Material selection carries more weight on remote sites than many realize. Concrete tanks are my default choice across the rural Southeast because their mass resists flotation in high water tables and their density preserves thermal stability. But on steep mountain terrain where concrete delivery costs $800–$1,400 just for transport and crane work, a properly anchored high-density polyethylene (HDPE) tank with ballast straps becomes cost-justified. Always cross-reference your choice against your county health department’s approved products before committing funds to excavation.
Effluent filters on the outlet baffle are absolutely essential for cabin systems. I’d put a Zabel A1800 or equivalent on any cabin system — $45–$75 per unit. In residential daily-use systems, a sound tank handles solids containment on its own. But the biological stall-and-surge cycle of cabin occupancy flushes particles that a normal tank would trap. Five minutes twice yearly cleaning prevents a $5,000–$8,000 drainfield failure.
Concrete Versus Plastic: Materials Breakdown
- Concrete: Superior thermal retention, gravitational stability, lifespan of 40–50 years, difficult to haul on tight access roads, range $900–$1,500 installed across most rural Southeastern counties
- HDPE plastic: Lighter weight enables difficult terrain delivery, requires anchor hardware in elevated water table zones, lifespan 30–40 years, installation cost $700–$1,100
- Fiberglass: Rarely specified in the Southeast, excellent corrosion performance, moderate weight, installation cost $850–$1,300
Drainfield Engineering: Soil Treatment When Flow Patterns Are Unpredictable
State health departments in the Southeast typically call for 25–45 linear feet of absorption trench per bedroom, determined by perc test results. I add 25–30% additional trench length to every cabin design because the soil must absorb not an average daily flow but the full-house holiday-weekend surge that sizing formulas don’t account for. Extra trench footage is inexpensive protection versus drainfield replacement.
Trench geometry and material specifications matter significantly. My standard is 12 inches of washed stone beneath perforated pipe in a 36-inch-wide cut — this meets Georgia EPD and Tennessee DOE minimums. Where heavy clay dominates, as it does throughout the Piedmont, I often recommend pressure-dose distribution over gravity-fed trenches. Pressure systems meter effluent across the entire field uniformly instead of saturating the near end first. This uniform dosing cuts biomat risk substantially in low-frequency-use scenarios.
Eight years into all this, I dug into what looked like a perfectly functional drainfield on a rural Alabama hunting lodge — 30 weekends of use annually for five years. At 18 inches deep, the soil interface was completely sealed with black biomat. Zero permeability. The repair cost that owner $9,800. That excavation taught me that biomat prevention has to be engineered into the initial design; you can’t band-aid your way out cleanly afterward.
Non-Conventional Soil Treatment Options
Remote sites with poor soil testing, restricted lot dimensions, or chronically high seasonal water elevations may benefit from drip systems or synthetic chambers like Infiltrator Quick4 units. Each Quick4 delivers 22 square feet of soil contact and carries approval across most Southeastern jurisdictions. These alternatives also ship lighter than bulk gravel, simplifying delivery to rough properties. The tradeoff: alternative systems demand a more specialized contractor and a state-stamped engineered site plan — not a DIY pathway.
Winterization Tactics That Survive Field Conditions in Cold Climates
Freeze damage surprises cabin owners most, particularly across the Mid-South and Upper South where hard freezes occur seasonally rather than constantly. Success requires discipline and deliberate design choices. Start with pipe slope: I maintain a 4-inch drop per 100 feet of run (true slope, not nominal), and I keep the building-to-tank distance under 20 feet whenever lot layout allows. Extended shallow runs freeze with brutal regularity; short, steep runs survive.
Insulation delivers measurable protection during extended vacancy. I wrap inlet and outlet risers with 2-inch rigid foam board (R-10 rating) at any cabin in sustained sub-20°F zones. Geotextile fabric laid across drainfield trenches — a tactic I picked up from a Tennessee health inspector — provides genuine frost defense. This combined approach adds roughly $150–$250 in materials to a typical build. It has prevented several neighbors’ burst fittings and compromised baffles.
Cabins closed for the entire cold season demand winterization protocol. Flush every fixture, dose every P-trap with propylene glycol RV antifreeze (never ethylene glycol — it harms tank bacteria), and add a microbial booster to the tank before you leave. I learned this on my own property in 2011 when I skipped the toilet fill-valve antifreeze step. Cracked valve, flooded bath, miserable spring. The propylene glycol costs twelve dollars per gallon and the bacterial additive maybe thirty; I never skip it now.
The Manual That Revealed Why Seasonal Properties Struggle Where Primary Residences Thrive
Seasonal and intermittent-use septic systems operate under fundamentally different constraints than continuous-occupancy homes, and I didn’t absorb those rules until expensive field lessons taught me otherwise. This manual decodes the microbiology and flow mechanics that undermine infrequently-occupied tanks—why biological stall happens, why freeze destruction occurs, and what design choices head off the exact failures that surprised that North Georgia property owner years ago.
What’s included
- Delineates design strategies for seasonal versus continuous-occupancy setups—knowledge I spent years hunting through internet forums to find
- Addresses pipe insulation, tank temperature stratification, and microbial collapse under low-flow operation with maintenance schedules that genuinely eliminate winter failures
- Delivers diagnostic decision trees for identifying failing systems before they advance to full replacement territory
What’s not here
- Omits site-specific sizing calculations—you’ll need a licensed engineer for actual load figures, but this manual equips you with the right questions to ask
- Broader in scope by design, so year-round residential chapters take up space before you reach the low-use-specific appendix material
I second-guessed buying a “manual” when I could find articles online, but those articles never explained why my tank wasn’t producing enough activity to process solids—this book did, and it saved me from repeating that guy’s February nightmare. Grab The Septic System Owner’s Manual before your first winter.
Sources and further reading
About This Article

Written by Joel Grayson. Rural property owner who learned septic systems the hard way after my own failed 15 years ago. I created Backyard Septic to give homeowners honest, practical guidance on septic installation, maintenance, and troubleshooting. More about this site.
Scope and limits. Joel is an experienced rural property owner, not a licensed septic inspector. Have a licensed septic professional handle pumping, permits, and any diagnosis you plan to act on — and never enter a tank.
Verify this against a primary source
Specifics change, and your situation may differ from the one described here. These are the authorities worth checking directly:
- EPA SepticSmart — septic system care, inspection intervals and failure signs
- NSF International — treatment unit and tank certification standards