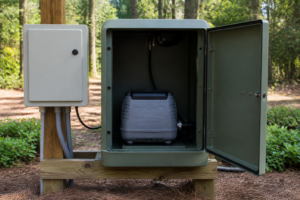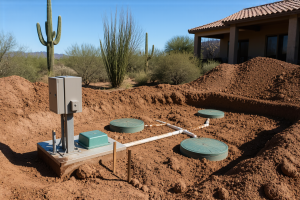
The vault lid is already up when I arrive, and I’m looking down into the disinfection chamber where the spray pump should be cycling. Nothing. The float’s hanging limp, and the electrical cord is still connected, which means the homeowner already made his first mistake—he bought a replacement pump before calling anyone, and based on the box sitting in his garage, he grabbed a 1 HP unit when his system spec sheet clearly says 1/2 HP. That kind of horsepower mismatch is how you burn out a return pump in fourteen days instead of fourteen years. But that’s getting ahead of the story.
What strikes me most after spending nearly two decades replacing and troubleshooting aerobic treatment units across rural Georgia, South Carolina, and Alabama is how consistent the confusion stays. Homeowners treat the spray pump and the air compressor and the return pump like they’re all the same thing with one name. They’re not. They do completely different jobs, they fail for different reasons, and when you replace the wrong one, money evaporates fast.
This is my complete breakdown of aerobic septic system pump replacement: which pumps actually exist in your tank right now, how to figure out which one just died, what the real costs look like from two decades of Southeast installations, how to swap one yourself if you’re mechanically capable and have the discipline to stay out of the tank, and straight talk about which replacement units are worth buying versus which ones disappoint me in the field. No fluff, just what you need to know to keep your system running and your wallet from getting lighter than it has to.
Understanding ATU Pumps: Three Different Systems, Three Different Failure Patterns
Here’s what stopped surprising me years ago: homeowners think “septic pump” is a singular thing. It’s not. Most aerobic treatment units have three separate mechanical workhorses running in parallel, and when one fails, it doesn’t disable the others. That’s where most of the expensive diagnostic confusion begins.
Your ATU contains these three distinct pump or compressor assemblies:
- Air compressor (sometimes called a blower) — Not a pump in the traditional sense, but a motor-driven compressor that forces air into your aeration chamber, creating the oxygen bubble environment where the aerobic bacteria colonies live and do the actual wastewater cleaning work. Ratings typically fall between 1/2 and 1 HP, running on either 115V or 230V depending on your unit’s original installation. I’ve written more detail about this component separately, but the key takeaway is this: if your alarm panel is lit up but your spray heads are still firing, your air compressor probably quit, not your spray pump. That distinction saves you a $250 purchase when you only need a $180 replacement.
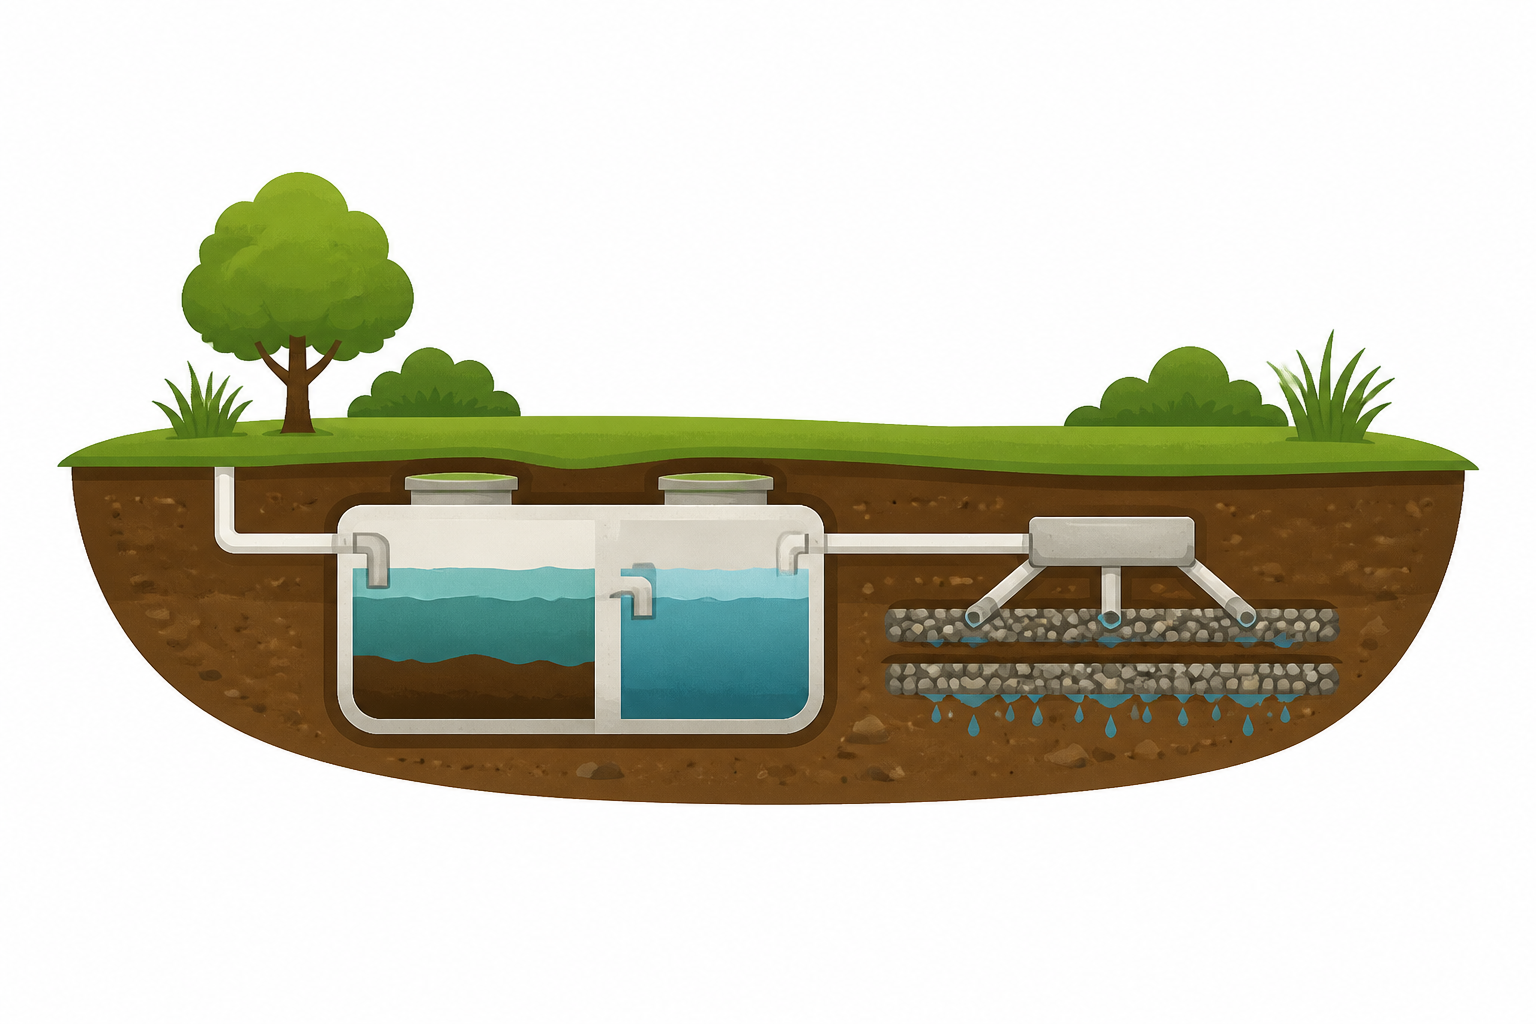
- Spray or effluent pump — This submersible workhorse sits submerged in the clarified effluent vault (the final polish chamber before treated water gets distributed to your drip field or spray network). After 10–15 years of continuous duty cycling, this one fails more often than any other component I replace. Standard specs run 1/2 HP, 115V, with flow ratings between 20–50 GPM and head pressures in the 10–20 foot range. This is the pump homeowners most frequently ask me about, and statistically, it’s the one that wears out first.
- Recirculation or return pump — Present only in clarifier-equipped ATU designs (Norweco systems, Orenco models, certain SeptiTech configurations), this lower-power pump (usually rated 1/4 to 1/3 HP) moves accumulated sludge from the clarifier bowl back up into the aeration chamber for reprocessing and breakdown. It fails less frequently in the systems I see, but when it does, your clarifier fills with putrid sludge in days, and your drip field gets poisoned with effluent that looks like dirty dishwater. Silent failure of this pump creates the most insidious damage to your system’s long-term health.
The practical reason I’m spelling this out: identifying which pump actually quit can mean the difference between a $200 fix and a $500 mistake. You don’t need a spray pump replacement if your float switch seized. You don’t need an air compressor if your spray heads simply aren’t rotating. Diagnosis beats guessing every single time.
Recognizing Pump Failure: Spray Pump vs. Return Pump vs. Air Pump
I can usually identify which pump failed in roughly ninety seconds by cross-checking what the homeowner is describing against what the vault shows me. Here’s exactly what to look for.
Spray Pump Failure Symptoms
Watch for these specific indicators that your spray or effluent pump is no longer functioning:
- Your spray heads have stopped misting or rotating; the drip field or lawn zone gets no water despite the system running
- Your control panel’s alarm indicator (typically red) is activated and steady or flashing
- Treated effluent is visibly pooling and rising inside the disinfection vault, which you can see when the lid is open
- The distribution network is receiving zero flow; driplines or spray zones remain completely dry
Most often the culprit is mechanical wear. The impeller—the spinning blade inside the submersible pump body—wears smooth or breaks after 12–15 years of constant cycling in aerobic systems. I’ve pulled pumps where sand or ultra-fine sediment bypassed the intake filter and ground the impeller flat like a coin. Motor keeps turning, but nothing moves water anymore.
Return Pump Failure (Clarifier-Based Systems)
If your ATU manufacturer included a clarifier chamber (check your control panel label and system documentation), pay attention to these warning signs:
- The clarifier bowl accumulates a thick, dark sludge layer that doesn’t recirculate
- Effluent moving toward your spray heads turns milky, turbid, or tea-colored instead of clear
- Spray nozzles begin plugging up repeatedly even though the main spray pump is cycling normally
- Visible hair, fiber, or suspended solids appear in the spray discharge or drip effluent
What’s occurring: sludge accumulates in the clarifier because the return pump isn’t cycling it back into aeration for further processing. Quality of your final effluent drops rapidly. This scenario hurts worse in the long run than a spray pump failure because contaminated discharge actively damages your drip field, creating biomat buildup and reducing soil absorption capacity—repairs that run into thousands of dollars.
Air Pump Failure (The One Homeowners Mistake Most)
This is the diagnosis that trips up most homeowners, and it’s worth understanding clearly: a dead air compressor does not stop your spray heads from operating. They’ll keep cycling if the spray pump is healthy. Instead, you’ll notice these signs:
- Your alarm light is on or blinking on the control box
- Spray heads and distribution lines are working fine, water’s moving to the drip field as it should
- But the liquid inside your aeration chamber has turned dark, murky, or actively stinks like a regular (non-aerobic) septic tank
You’ve essentially converted your aerobic treatment unit into an overpriced gravity septic tank. Without continuous aeration, the bacteria colonies die, decomposition reverts to anaerobic processes, and your water quality collapses. Figuring this out prevents you from spending $250 on a spray pump when a $180 air compressor is what actually needs replacing.
Before You Buy a New Pump: Check the Float Switch First
This single diagnostic step has kept me from overselling replacement pumps to worried homeowners for nearly twenty years. Every submersible pump component in an aerobic treatment unit depends on a float switch to arm and disarm it. Nine times out of ten when a homeowner thinks the pump died, the float just got stuck.
Here’s my field protocol, and all of it occurs standing completely outside the vault chamber: with the lid already removed, I use a long pole or gently pull the float’s tether cord upward from directly above—arms never dropping below the rim, never reaching in. If the pump springs to life immediately, congratulations: you’ve just diagnosed a $15 float switch replacement instead of a $250 pump purchase. Better yet: if your control panel has a manual or “run” toggle, activate it from there first, and you get the same diagnostic information without opening the lid. Wear disposable nitrile gloves on anything that touches effluent, and wash thoroughly afterward.
Float switches fail because mineral crusts, bacterial films, or grease deposits build up on the moving parts and lock them in place. I’ve extracted hundreds of gummed-up floats from properties in hard-water zones throughout Georgia and South Carolina. The homeowner panics about a pump failure, I lift the float, confirm it moves freely now, send him a replacement, and his system runs another 3–5 years without incident.
Before you spend a dime, invest ninety seconds testing that float. The simplest diagnosis often prevents the costliest mistake. That’s the principle I follow in every system I visit—identify the real problem before you start buying parts.
Realistic Aerobic Septic System Pump Replacement Costs from Real Southeast Systems
I’m going to walk you through actual dollar amounts from installations and replacements I’ve performed in the past twenty-four months. These reflect current rural Southeast pricing, and they shift based on your specific location, your system brand, and whether you hire a pro or tackle the job yourself.
Spray/Effluent Pump Replacement Costs
This remains the most frequently scheduled replacement in my service calendar. Your spray pump carries the heaviest workload, which is why it ages fastest.
- Parts cost (pump unit only): $180–$350. Common replacement specifications I stock and install: Liberty Pumps LE51M (typically $220), Goulds WE0311H (around $240), or ATU-specific units branded by SeptiTech (generally running $200–$280 based on their head pressure rating).
- Service labor (professional installation): $150–$300. Urban and suburban service areas run lower; rural calls stretch toward the ceiling.
- Complete installed cost: $330–$650 depending on your region and system configuration.
That total assumes a simple pump swap. If your discharge line shows corrosion or mineral scaling and needs replacement, tack on $100–$150. If the float switch is also worn out and needs swapping, add another $25–$40.
Return/Recirculation Pump Replacement Costs
- Pump only (parts): $90–$200 (lower horsepower means lower equipment cost).
- Installation labor: $100–$200.
- Full installed job: $190–$400.
Return pumps fail with less frequency in the systems I see, but the damage from delayed replacement accelerates fast. I’ve learned that waiting more than a week after discovering return pump failure almost always results in drip field biomat accumulation that costs thousands to remediate. Get it fixed immediately.
Air Pump/Compressor Replacement Costs
- Compressor assembly: $120–$350 depending on your specific ATU manufacturer (Norweco, Orenco, SeptiTech, and others price differently).
- Service labor: $100–$200 (usually uncomplicated if electrical connections are already established).
- Full installed cost: $220–$550.
Air compressor failures spike during summer heat waves and immediately after extended power interruptions. Someone I know in Greenville, South Carolina called me in July two years ago when her compressor seized during a 97-degree afternoon. A Saturday service call to swap the unit ran her $480 total—compressor plus emergency labor.
All figures above come from quotes and invoices neighbors have shared with me, plus work on my own system, over 2023 and 2024. Your regional costs may differ slightly, but if someone gives you a quote significantly outside these windows, request additional bids. Transparent pricing exists, and parts cost should align with what you discover online before a contractor quotes you.
DIY Aerobic Septic System Pump Replacement: When You Can Do It Safely
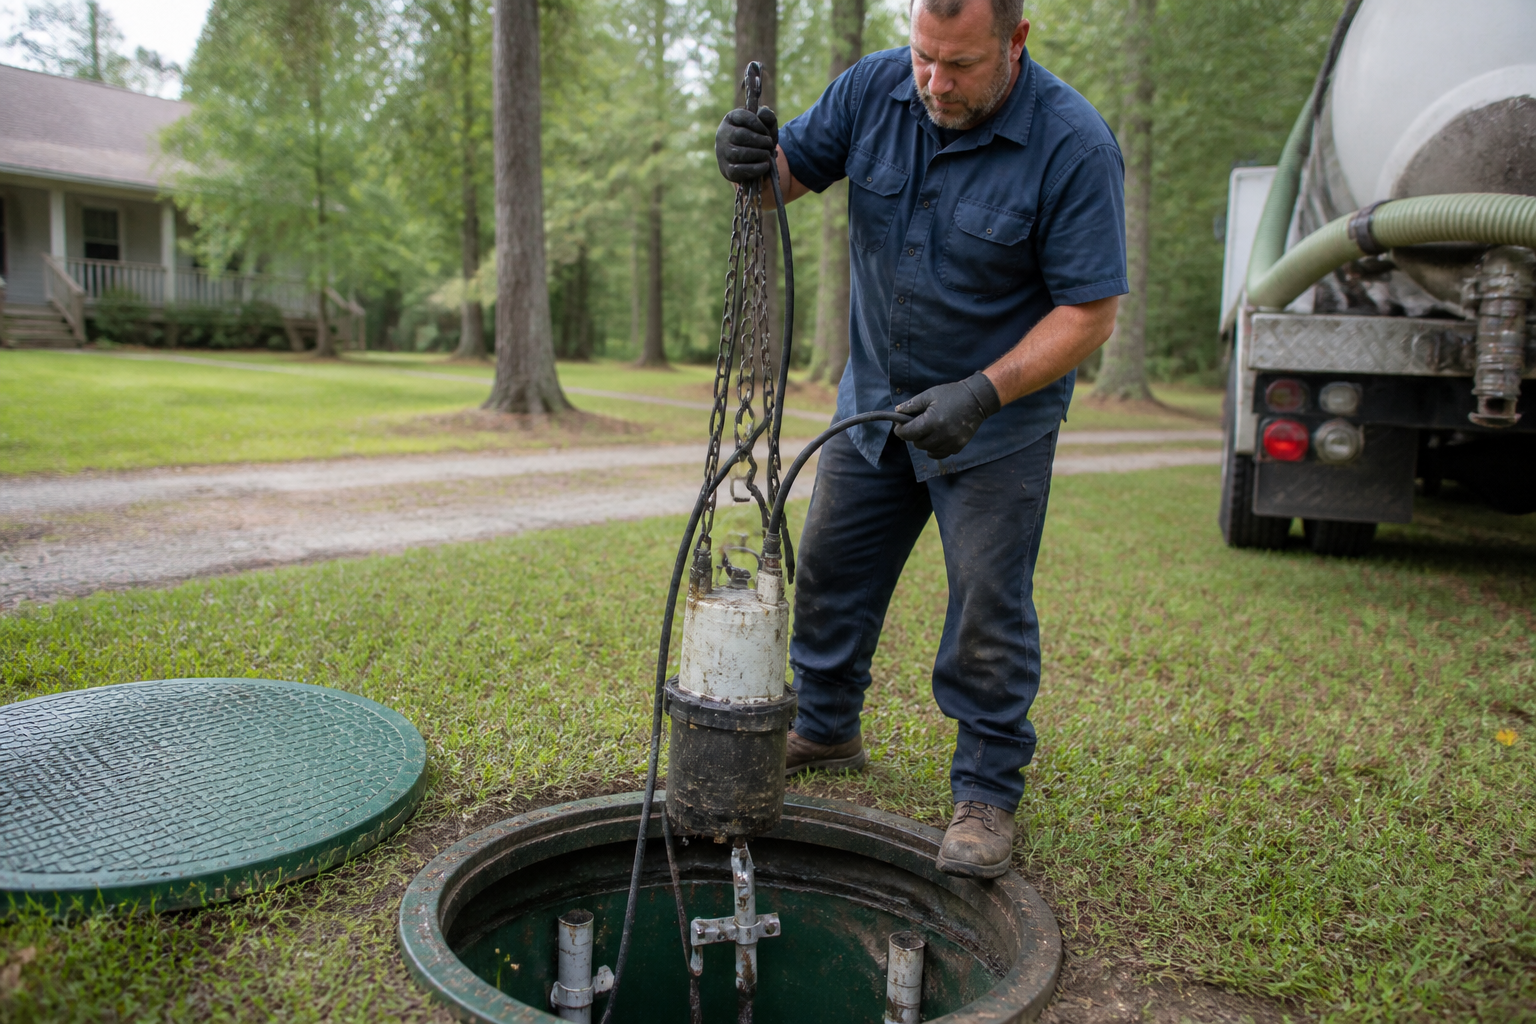
I need to be clear about this: spray pump replacement is one of the limited number of aerobic septic repairs that a mechanically skilled homeowner can successfully and safely handle—and only because you accomplish every step from standing outside the chamber with the pump rising on its own lifting line. That boundary is absolute. The instant a repair step demands you descend into the tank, bend low over the opening, or work below the rim, that repair transitions to licensed-professional-only territory. Non-negotiable. Septic and ATU chambers meet OSHA’s definition of permit-required confined spaces under 1910.146, and they kill people every single year—most commonly the second rescuer, who rushes in after the first person collapses. I’m telling you this without exaggeration: never do this work alone. Have another person topside, outside the chamber, aware and present the entire time the lid sits open.
Air compressor and return pump work requires managing live electrical circuits. Capacitors store voltage even after you cut the breaker. I’ve taken a shock before—didn’t fatally harm me, but it was memorable and taught me to respect what I don’t fully understand. Unless you hold an electrician’s license, I’d rather you pay someone who does. Wiring air pump intake lines incorrectly introduces air locks that damage the motor within weeks. Return pump discharge needs proper backcheck valves to prevent siphoning problems. These are expert details. Hire it out.
Step-by-Step Spray Pump Replacement (DIY Safe Version)
- Kill power at the main electrical breaker. Locate your ATU control box. Find and identify the breaker protecting the spray pump circuit (it should be labeled). Switch it fully to the off position. Count to thirty while the electrical system discharges completely. Skipping this means you’re working around live voltage in a wet environment, which is how electrocution happens.
- Lift the disinfection vault lid — then keep yourself out of it. Vault lids are heavy; acquire a lid lifter tool, and secure a second capable adult before you touch the cover. Never use your body as a wedge or prop for the lid. Once it swings open, everything that follows happens with you positioned outside the vault: kneel back, maintain your head and shoulders completely above ground level, arms reaching down but torso staying elevated above the rim. Do not climb in. Do not lean in past your elbows. A septic or ATU chamber qualifies as a permit-required confined space per OSHA 1910.146. Hydrogen sulfide and methane accumulate inside, hydrogen sulfide sinks because it’s heavier than air, settling low where it erases your smell sensation before it kills you. No amount of waiting or partial ventilation renders a confined space safe for entry—safe entry requires forced-air ventilation equipment, four-gas atmospheric testing, rescue harnesses and tripods, and a trained safety attendant stationed topside. Any job step that forces your body below ground level is when you stop and telephone a licensed professional instead.
- Locate the discharge union at the pump’s outlet. At the top of the pump, you’ll see a threaded coupler where the outgoing pressure line connects. This is typically a union—a three-component coupling. Working from beside the vault opening with head and shoulders maintained well above the rim, use two wrenches (one stabilizing the nut, the other rotating the union body) to loosen this connection. Position yourself comfortably; if the union sits lower than you can reach with your arm while maintaining your upper body above grade, abandon this and phone a professional rather than stretching or leaning to manage it. Water residue will drip from the union; position a bucket underneath to catch it.
- Study how the existing pump is supported. From outside the vault, looking in through the opening with a flashlight, determine the suspension system. Most submersible pumps in ATU installations hang from a rope or steel chain attached to a cleat or bracket on the vault’s lid or interior wall. Examine this from a position outside the chamber, or use your phone’s camera held at arm’s length pointing downward to photograph the configuration, then step back and study the image. Do not position your face over the opening for a direct look. Make a written note of which direction the float switch arm points—float orientation matters when you install the replacement, and pointing it incorrectly sabotages the new pump’s function.
- Hoist the pump up and out. Grab the rope or chain above the vault and pull upward, hand-over-hand with steady tension. The pump weighs 15–25 pounds and the cord can catch; move methodically. As the unit rises from the vault, gather the electrical wire into loose coils laying in the chamber—don’t allow it to tangle around the pump body.
- Document the pump specifications. Before placing an order for the replacement, locate and read the metal data plate fastened to the old pump. Copy down the horsepower rating (spray pumps almost always read 1/2 HP), voltage markings (typically 115V or 230V), and if the plate shows it, the GPM output rating and head pressure in feet. Write these numbers down and keep them accessible. This is exactly where that homeowner outside Macon made his costly error—he didn’t read the nameplate, grabbed a different horsepower class, and destroyed another component inside of two weeks.
- Measure the electrical cord length. The power cord stretching from your ATU’s control panel to the pump has specific requirements. Measure the distance from the control box down to the depth where the pump rests (most residential systems show 15–25 feet of cord). Replacement submersible pumps usually ship with 33-foot cords as standard, which accommodates most residential installations. If your particular vault runs unusually deep and demands extra cord length, call a technician to handle the custom cord installation rather than attempting wiring yourself.
- Lower the replacement pump into position. Gently lower it down the support rope, hand over hand. Maintain the same orientation where the old pump sat—replicate the float position exactly as it was. Once the new pump settles on the vault bottom, tie off its supporting rope or chain to the anchor bracket to lock it in place.
- Secure the discharge union again. Working from outside the opening, hand-thread the union connection first until it seats lightly, then use your two wrenches to snug it the rest of the way. Stop when it’s firm—over-tightening cracks plastic fittings, so gentle but solid pressure is correct.
- Close and secure the vault lid. Position it fully, ensuring no gaps or cracks remain.
- Flip the breaker back to the on position. The new pump should initialize within 30 seconds to two minutes, priming its intake and beginning its cycling operation.
- Walk your property and inspect spray performance in the next few minutes. Move through your yard toward each spray head or drip zone. Confirm that water is arcing or misting at proper patterns from each head. A head that’s silent or dry may indicate an air pocket in the line—to clear it, open the isolation valve on that section for 10 seconds, letting air escape. Once all zones are producing water, your job is finished.
That’s the whole process. Manageable for someone at ease with hand tools, respectful of electrical panels, and disciplined about staying outside the chamber boundary. If a step triggers genuine hesitation, that’s permission to call a licensed professional. Saving money never outweighs a hospital visit or worse outcomes.
Why NOT to DIY Air Pump or Return Pump Replacement
Both of these components interface with your electrical control panel where voltage runs live at all times. The internal capacitors in control circuits retain electrical charge even when you’ve shut off the main breaker. I experienced a 120V shock years ago—it didn’t hospitalize me, but it left a memorable impression and absolute respect for electrical hazards. If you’re not a licensed electrician, this work is outside your pay grade, and I mean that seriously.
Beyond electrical safety, the technical details matter too. Air compressor discharge piping requires precise backcheck valve installation to prevent water from flowing backward and destroying the compressor. Return pump discharge needs identical valve work. Mishandling these introduces chronic failures—your new compressor runs fine for two weeks, then quits because backpressure built up incorrectly. These aren’t big-picture mistakes you can overlook; they’re expensive lessons that get passed to your next service technician, who ends up fixing them at your expense. Get a professional to do this from the first install.
The Pump That Stopped Me from Installing the Wrong Horsepower Again
Most homeowners shopping for a replacement pump (and regrettably, certain contractors doing the same) grab the first 1/2 HP pump available without cross-checking head pressure or flow rating against the system’s actual specifications. That’s precisely the sequence that produces undersized or oversized equipment—runs fine initially but underperforms, or worse, burns out the motor within two years instead of twelve.
What works
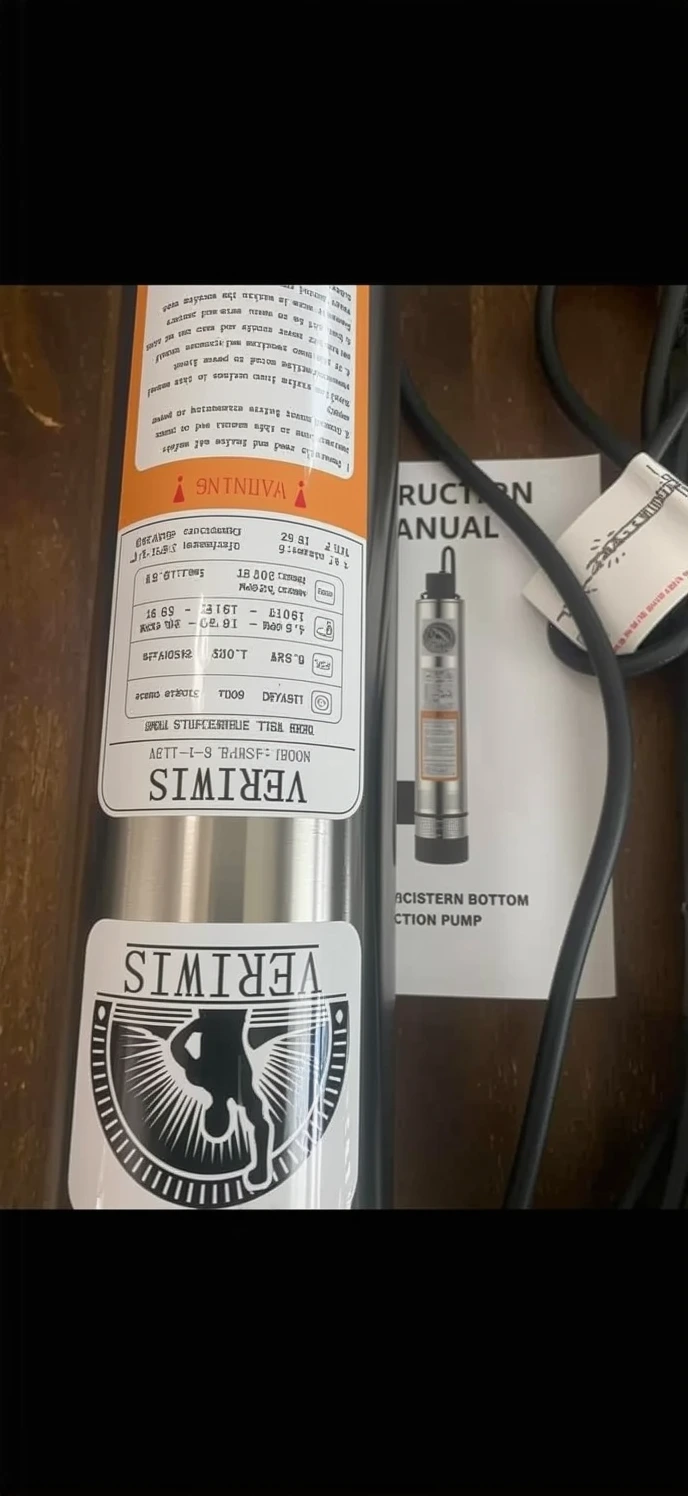
- The 26 GPM output coupled with 138 feet of head delivers the right characteristics for mid-tier aerobic installations—sufficient flow volume for reliable spray head operation without energy waste from oversizing.
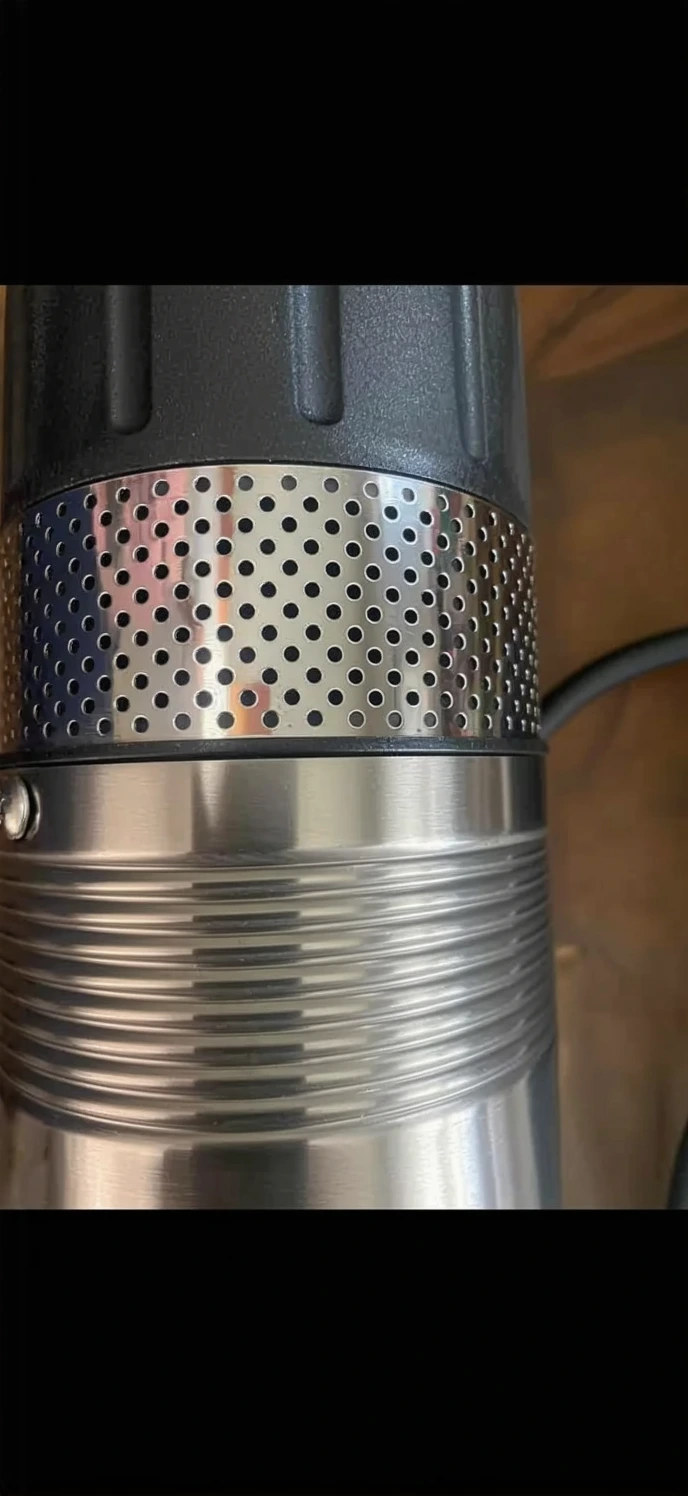
- Stainless steel construction and anti-clog intake design permit this pump to tolerate the actual particles and sediment that drift into discharge lines; I’ve watched cheaper competitors fail and seize after a single growing season when dealing with red clay and mineral-heavy water in Georgia installations.
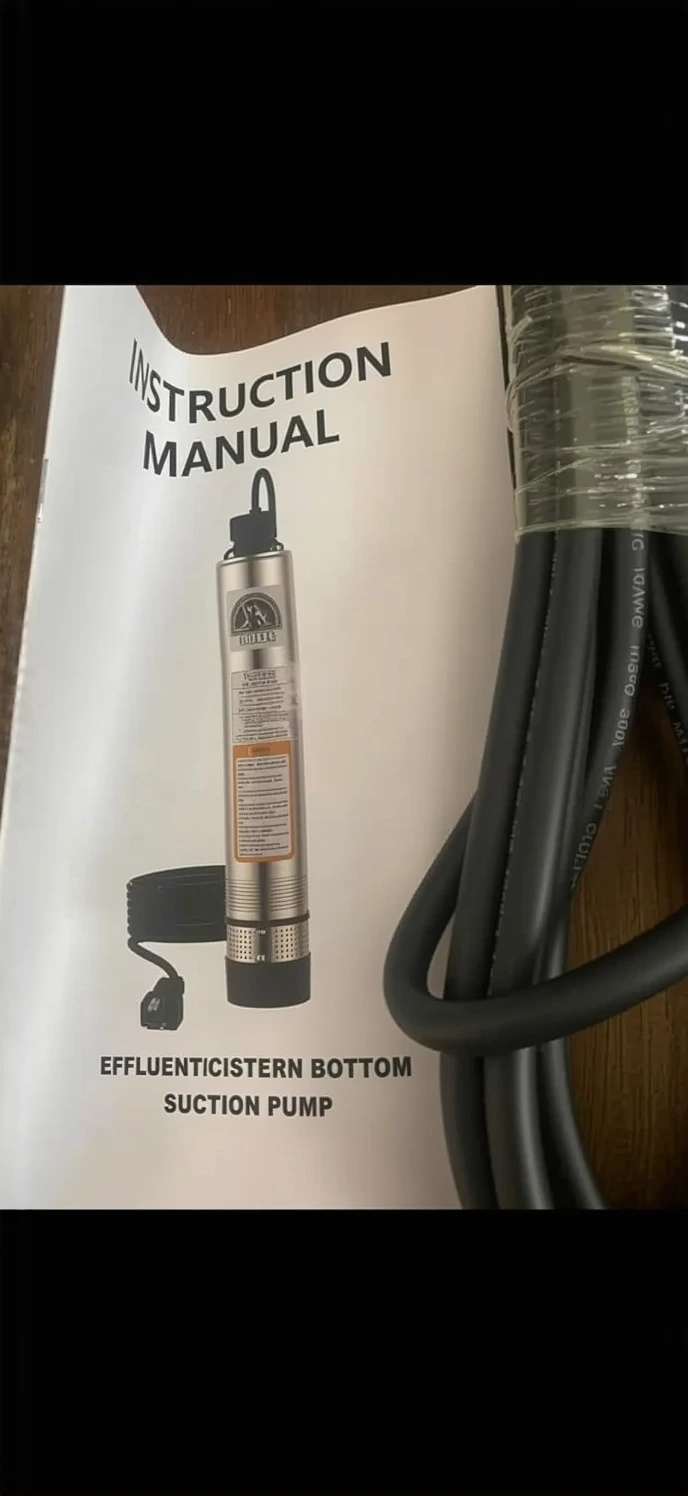
- The 33-foot cord arrives pre-installed on the pump body, which eliminated my need to crimp a wet-rated junction box in the pump chamber—one fewer potential failure point in your system.
What doesn’t
- At 1/2 HP running on 115V, this unit isn’t engineered for oversized systems or vaults buried deeper than 35–40 feet below grade; you’ll need to step up to a higher-output model if your ATU configuration falls outside those parameters.
- The 3-year warranty provides reasonable coverage but isn’t unlimited—submersible pump warranties typically exclude wear items and operation outside design parameters, so don’t anticipate manufacturer support if the pump runs dry or experiences electrical surge damage.
I almost ordered a 3/4 HP model before double-checking the system manual, which would have been overkill and cost me 40% more per year in electric bills. Check your ATU’s nameplate specs first, then grab the VERIWIS Septic Tank Pump 4″ Submersible Effluent Cistern if your system falls in that mid-range sweet spot.
Sources and further reading
About This Article

Written by Joel Grayson. Rural property owner who learned septic systems the hard way after my own failed 15 years ago. I created Backyard Septic to give homeowners honest, practical guidance on septic installation, maintenance, and troubleshooting. More about this site.
Scope and limits. Joel is an experienced rural property owner, not a licensed septic inspector. Have a licensed septic professional handle pumping, permits, and any diagnosis you plan to act on — and never enter a tank.
Verify this against a primary source
Specifics change, and your situation may differ from the one described here. These are the authorities worth checking directly:
- EPA SepticSmart — septic system care, inspection intervals and failure signs
- NSF International — treatment unit and tank certification standards