The first time I pulled a dead air pump off an aerobic septic system, I handed the homeowner a contractor quote for $480 — labor included. She looked at me and asked, “Can I just do this myself?” The first time I pulled a dead air pump off an aerobic septic system, I handed the homeowner a contractor quote for $480 — labor included. She looked at me and asked, “Can I just do this myself?” I almost said no, worried she’d buy the wrong replacement and call me back frustrated. But then I realized: she didn’t need a contractor, she needed clarity on what actually fits. Honestly? Yes. In most cases, replacing a septic air pump is one of the most DIY-friendly maintenance tasks on an aerobic treatment unit (ATU). If you’ve been researching replace septic air pump DIY cost, you’re already asking the right question. The answer will surprise you.
I’ve been inspecting and servicing septic systems for 15 years across rural Texas, Oklahoma, and Arkansas. In that time, I’ve replaced well over 200 linear diaphragm air pumps. Most homeowners who attempt this job finish it in under an hour. They spend $80–$180 on a pump and save $250–$350 in labor. That’s a real return for one afternoon of work.
That said, there are situations where DIY goes sideways fast. I’ll walk you through the full cost breakdown, what tools you need, the exact steps I follow, and — critically — when to stop and call a licensed septic technician. Let’s get into it.
What Does a Septic Air Pump Actually Do?
Before you spend a dollar, understand what you’re replacing. An aerobic septic system relies on a linear diaphragm air pump — sometimes called a septic aerator — to inject oxygen into the treatment chamber. That oxygen keeps aerobic bacteria alive. Those bacteria break down waste far more efficiently than the anaerobic process in a conventional septic tank.
When the pump fails, bacterial activity collapses within 24–48 hours. Solids stop breaking down. Effluent quality drops. Your system can fail a state inspection, trigger alarm alerts, or — worst case — push inadequately treated water into your drain field. In Texas, for example, TCEQ rules require aerobic systems to maintain a functioning aerator at all times. Other states have similar requirements under their respective onsite sewage facility (OSSF) codes.
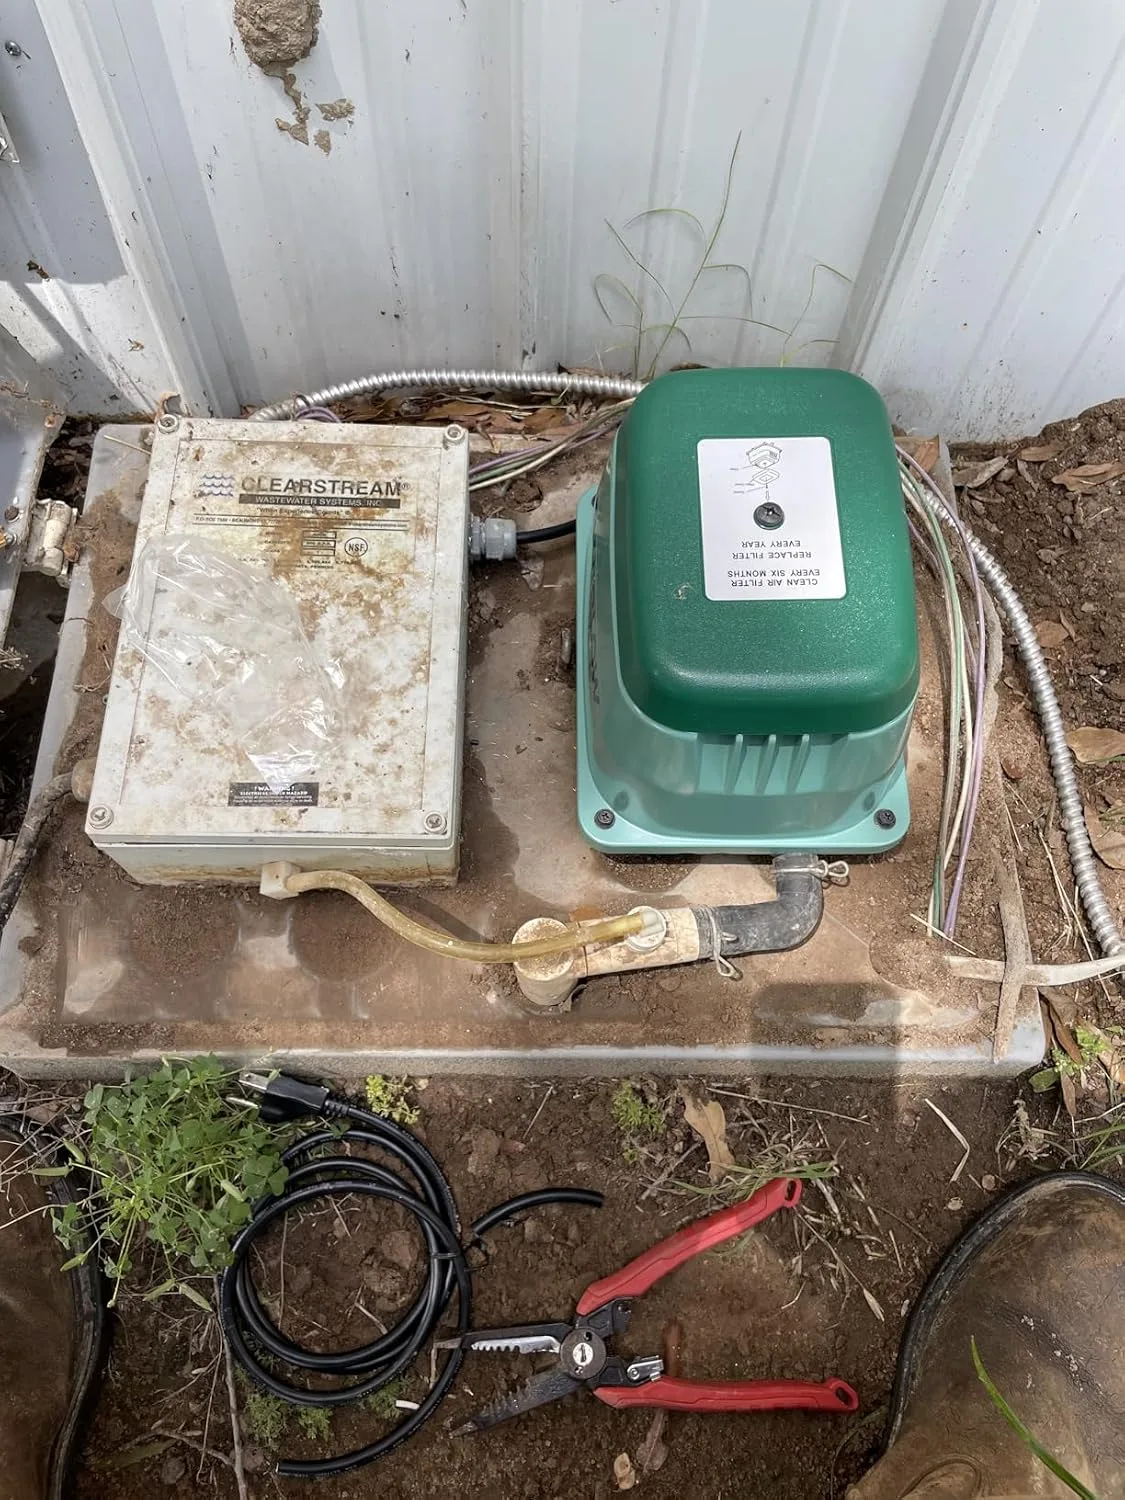
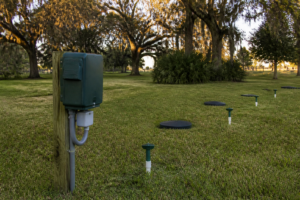
The pump itself sits outside the tank, usually in a weatherproof housing on the ground surface. It connects via a PVC or polyethylene airline to a diffuser inside the treatment chamber. That’s the whole system. Simple in design — and simple to swap out when you know what you’re doing.
Replace Septic Air Pump DIY Cost: The Full Breakdown
Let me give you real numbers, not vague ranges. Here’s what a typical DIY pump replacement actually costs in 2024.
Pump Cost
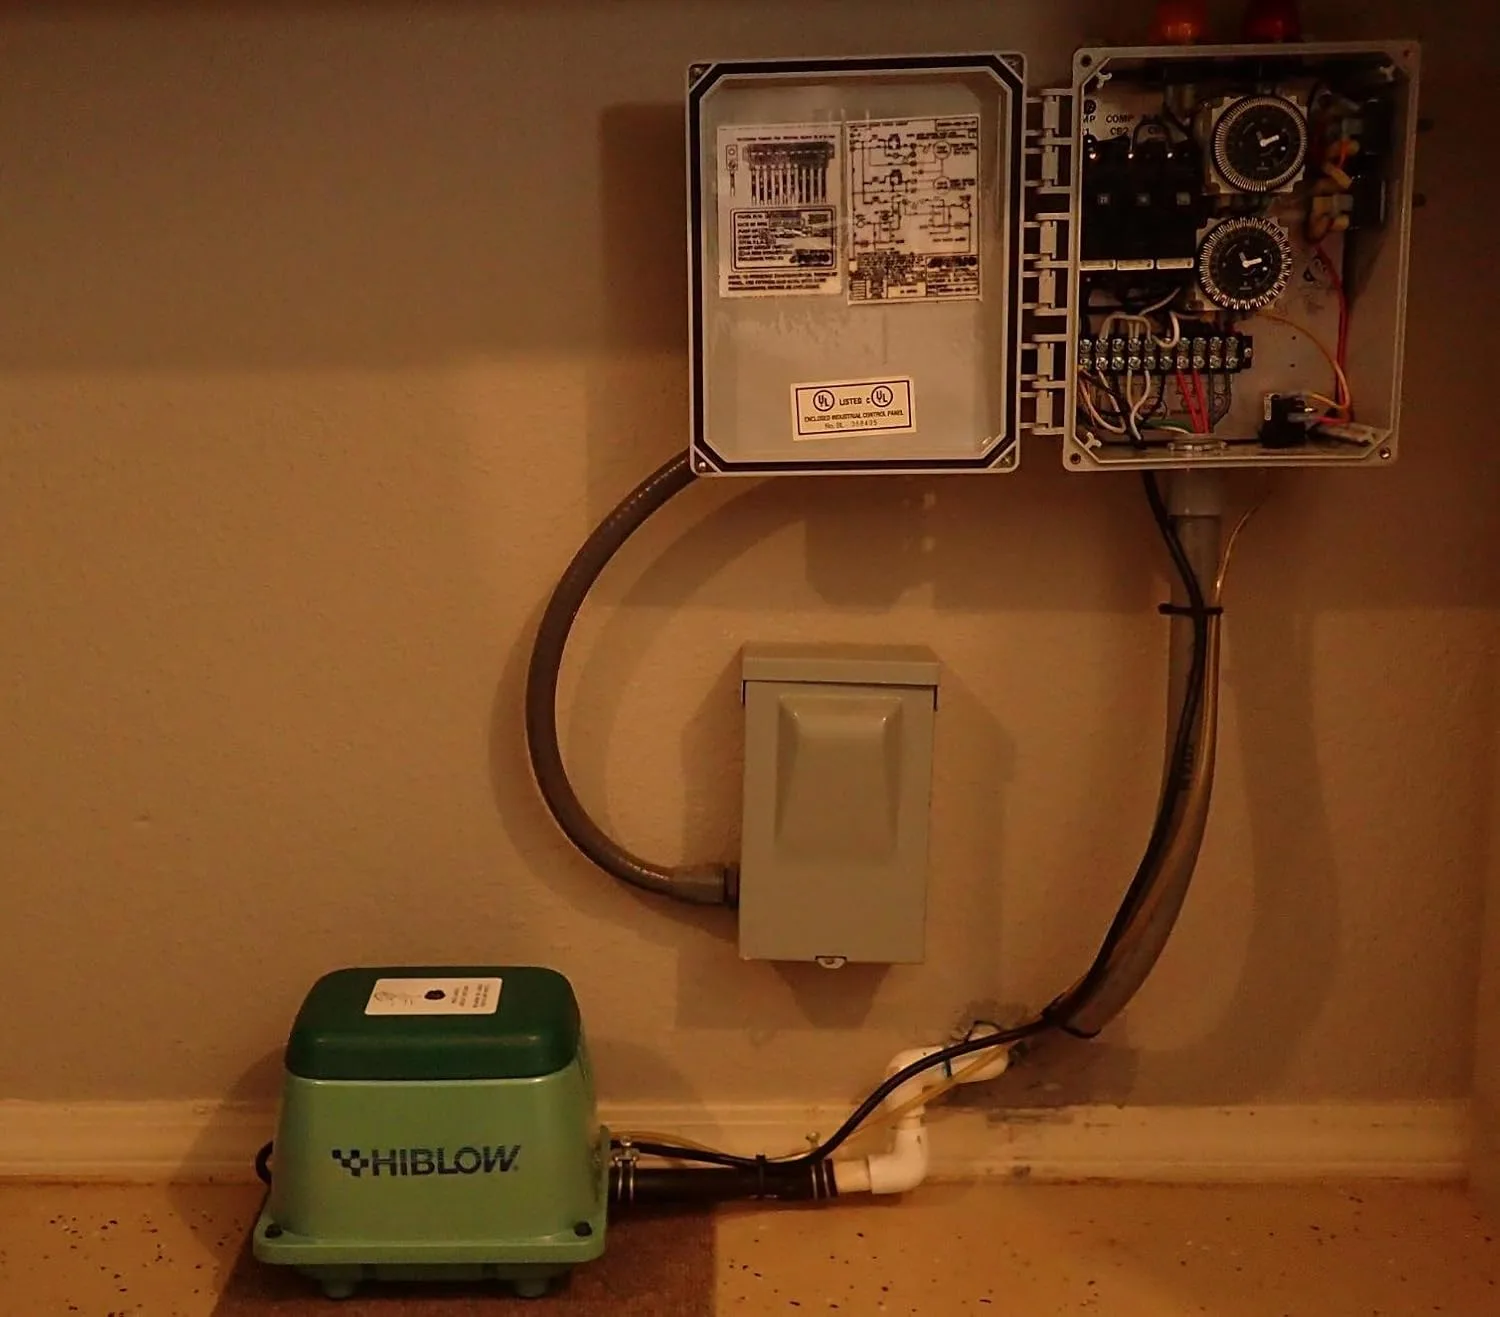
The pump itself is your biggest expense. A quality linear diaphragm pump like the HIBLOW HP-80 runs $120–$160 online. Budget brands go as low as $60–$80, but I’ve seen those fail inside 12 months. In my experience, you spend more replacing cheap pumps every year than buying a reliable unit once. Most quality pumps are rated for 3–5 years of continuous operation.
Fittings and Airline
If your existing airline is intact and undamaged, you may reuse it. However, if it’s brittle, cracked, or a different diameter than your new pump’s outlet, budget $10–$25 for replacement tubing and barb fittings. Most pumps use 5/8-inch or 3/4-inch ID polyethylene tubing. Always confirm the outlet size before ordering parts.
Tools You Probably Already Own
You don’t need specialized equipment. A flathead screwdriver, adjustable wrench, zip ties, and a utility knife handle the entire job. If your pump housing has corroded fasteners, a penetrating oil spray ($6–$8) saves a lot of frustration. Total additional tool cost for most homeowners: $0–$15.
Total DIY Cost vs. Contractor Cost
- DIY total: $130–$200 (pump + minor supplies)
- Contractor total: $380–$550 (pump markup + $200–$300 labor + service call fee)
- Your savings: $200–$350 per replacement
Last spring, I had a client in rural Oklahoma who had been paying a service company $420 every two years to replace her pump. After I walked her through the process once, she did it herself the following cycle for $148. That’s a meaningful difference on a rural homeowner’s budget.
How to Replace a Septic Air Pump: Step-by-Step
I follow the same sequence every time. It keeps the job clean, safe, and reversible if something unexpected comes up.
Step 1 — Confirm the Pump Is the Problem
Don’t replace parts you don’t need to replace. First, check that your pump is receiving power. Use a non-contact voltage tester at the outlet or junction box — never assume the power is off. If the pump has power but isn’t running, it’s almost certainly dead. If it’s humming but producing no airflow, the diaphragms are shot. Both scenarios mean replacement, not repair.
You can confirm airflow failure by disconnecting the airline at the pump outlet and holding your hand near the port. A healthy pump produces a steady, pulsing airflow you’ll feel immediately. No airflow? Time for a new unit.
Step 2 — Cut Power Before Touching Anything
I learned this the hard way early in my career. I reached into a pump housing without killing the breaker first and caught a 120V shock from a corroded wire nut. It wasn’t life-threatening, but it was a serious wake-up call. Always kill the breaker that feeds your septic system before disconnecting anything. Verify it’s dead with your voltage tester. This is non-negotiable.
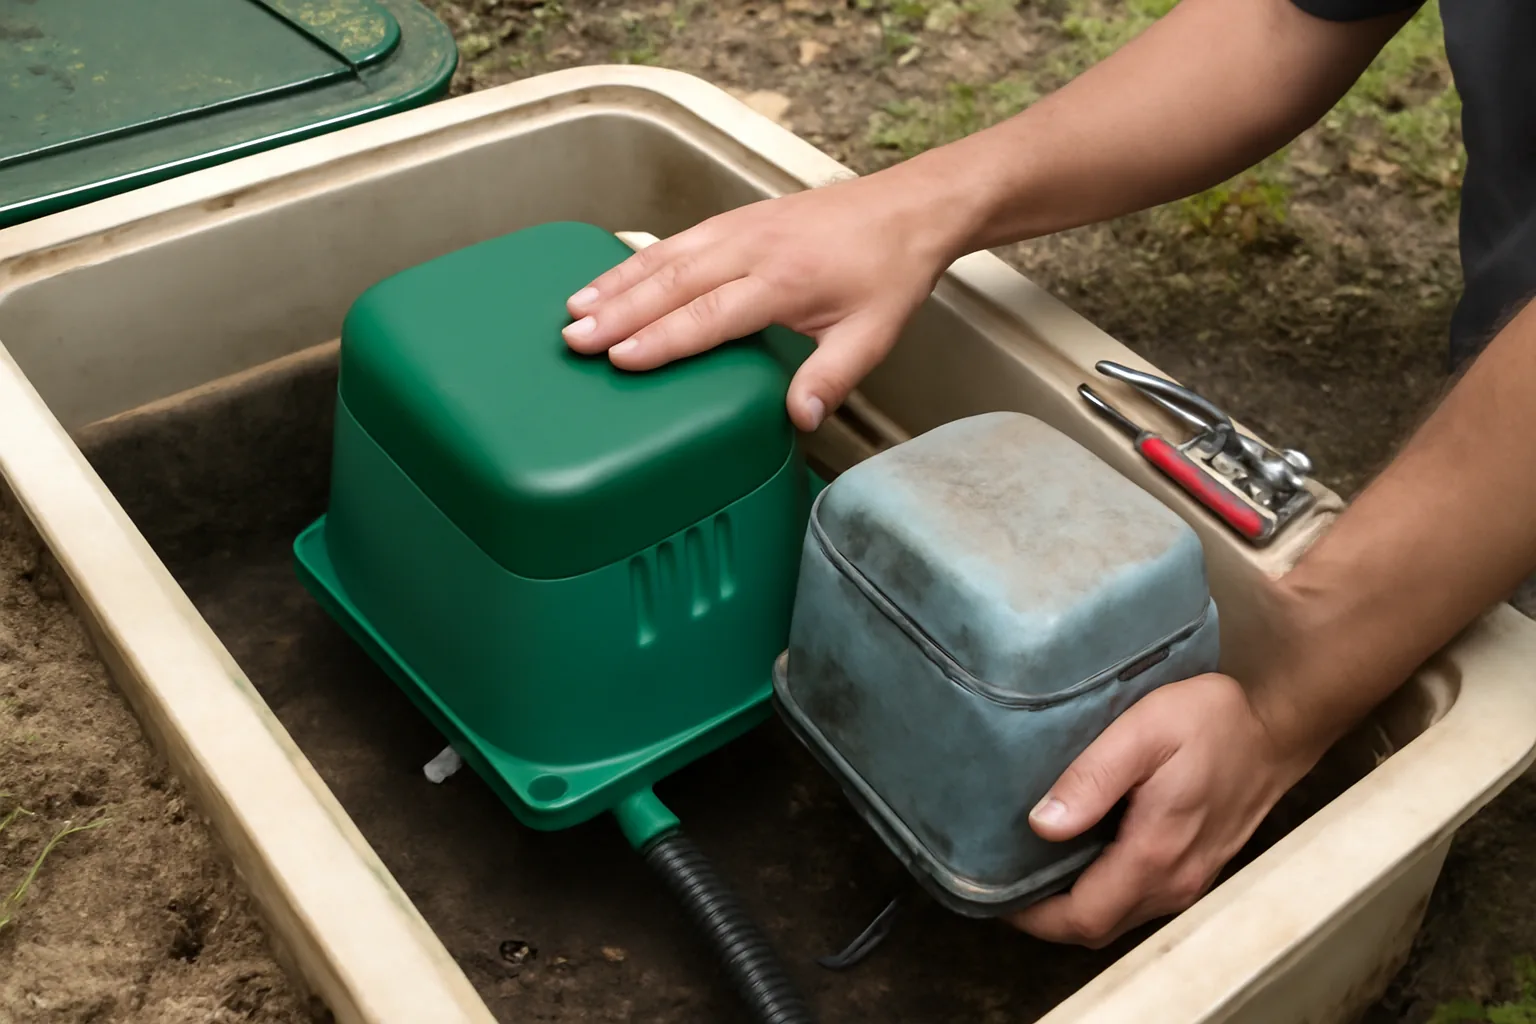
Step 3 — Disconnect and Remove the Old Pump
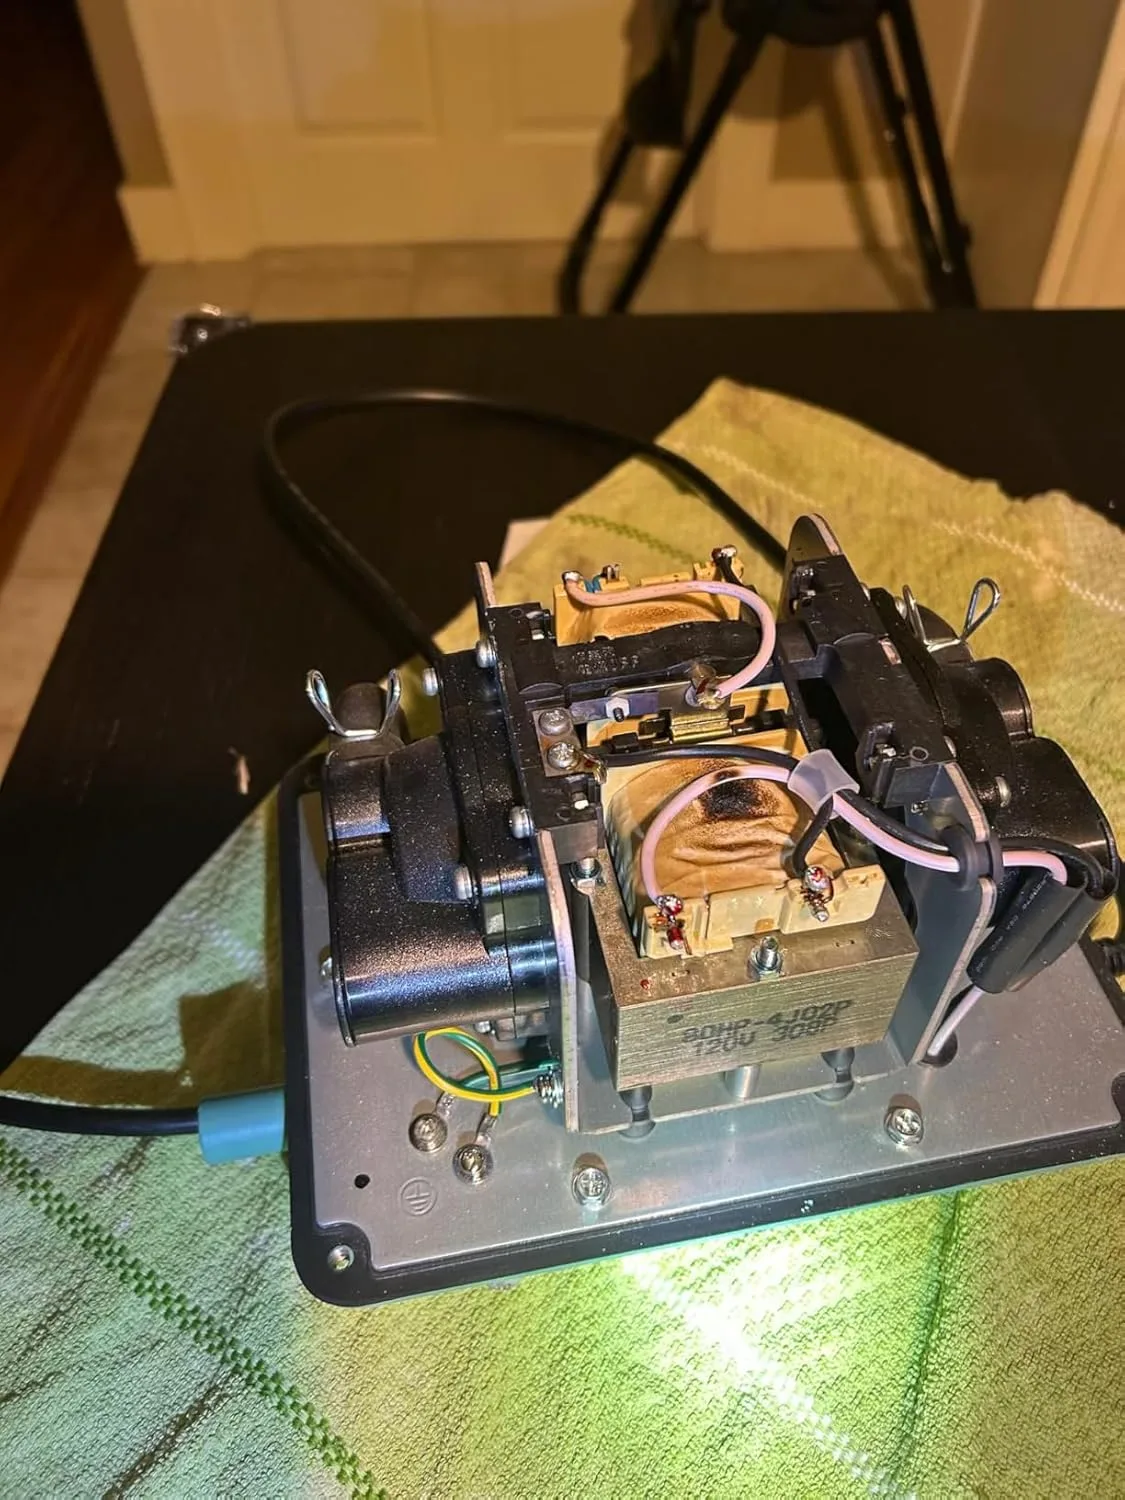
With power confirmed off, remove the pump housing cover. Disconnect the airline from the pump outlet — most use a hose clamp or barb fitting. Then disconnect the electrical leads or unplug the pump’s cord from the outlet inside the housing. Remove any mounting screws or straps holding the pump in place. Lift it out. The whole process takes about 5 minutes on a pump that was installed correctly.
Step 4 — Install the New Pump
Set the new pump in the housing and secure it per the manufacturer’s instructions. HIBLOW pumps, for instance, include mounting hardware and a clear diagram in the box. Connect the airline to the outlet port and tighten the clamp or fitting snugly — not aggressively. Overtightening a barb fitting cracks the housing. Reconnect power, restore the breaker, and verify the pump runs. Listen for steady pulsing. Check the airline connection for air leaks by feeling around the fitting with your hand.
Step 5 — Log the Install Date
Write the installation date on a piece of electrical tape and stick it to the pump body. Most quality pumps have a 1–3 year manufacturer warranty, and the install date starts that clock. It also helps you track replacement intervals. I recommend inspecting the diaphragms on any pump that’s been running continuously for 2+ years — even if it hasn’t failed yet.
The Pump That Actually Fits Without Adapter Hunting
When you’re staring at your dead air pump and trying to match fittings, you don’t want to discover mid-installation that your replacement doesn’t thread correctly or requires adapters you didn’t budget for. The HIBLOW HP-80 is the workhorse replacement that shows up and bolts in—no surprises.
What works
- Standard barb fittings match most residential aerobic systems without adapter chains, saving you a second trip to the supply house.
- Runs quieter than I expected—my neighbor didn’t even notice the difference after I swapped it in, which says something.
- Linear diaphragm design means fewer moving parts to fail, and I’ve seen these pumps run 5+ years on maintenance-only systems.
What doesn’t
- The power cord is short—you’ll need to plan outlet location or grab an extension before installation day.
- If your original pump used different fitting sizes, you’ll still need reducers or adapters; this pump won’t magically fit everything.
I once spent 45 minutes on the phone with a homeowner who’d bought a cheap import pump with metric fittings that wouldn’t connect to anything. You won’t have that problem. Grab the HIBLOW HP-80 Pond Aerator / Septic Linear Air Pump and move forward with confidence.
This post contains affiliate links. As an Amazon Associate, I earn from qualifying purchases at no extra cost to you.