Every spring, I get a wave of calls from homeowners who ignored their septic system all winter — and now something’s wrong. A soggy drain field. A backed-up toilet. A smell they can’t place. Most of the time, a proper spring septic startup checklist would have caught the problem before it turned into a $4,000 repair. I’ve been installing, inspecting, and pumping septic systems across the rural Southeast for 18 years, and spring is honestly the most important season to pay attention to your system. Frozen ground thaws, saturated soil shifts, and whatever stress your system accumulated over winter shows up fast once temperatures climb back above 50°F.
Here’s a misconception I run into constantly: people think that because their toilets still flush, everything underground is fine. That’s not how it works. A system can be on the edge of failure — inlet baffle cracked, tank lid shifted, drain field showing early signs of hydraulic overload — and you won’t know until it’s too late. Spring is your window to catch those issues cheaply. I’m going to walk you through exactly what I check after every thaw, in the order I actually do it on service calls.
Start Outside: Walk Your Yard Before You Touch Anything
The first thing I do when I arrive at a spring inspection is walk the property — no tools, no lid wrench, just my eyes. I’m looking at the ground above the septic tank and across the drain field. Specifically, I want to see if the soil is uniformly wet or if there are dry patches in strange places. Wet spots directly over the drain field lines in spring can mean two things: normal snowmelt drainage, or early-stage drain field failure. The difference matters enormously for your wallet.
Last spring, I had a client in Pickens County whose yard looked fine from the driveway. When I walked the field, there was a 10-foot oval of bright green grass sitting right above one of his lateral lines — in March, when everything else was still brown. That’s a classic surfacing effluent indicator. His system had been slowly failing since November. We caught it before it became a full replacement, and a targeted repair ran him about $900 instead of $6,500 for a new field. Walking the yard first saved him thousands.
Also look for tank access lids that have shifted, heaved, or cracked over winter. Frost heave is real in the Southeast, especially in clay-heavy soils from Tennessee down through the Georgia foothills. A cracked concrete lid can let surface water — and small animals — into your tank. I’ve pulled lids off in spring and found everything from mud infiltration to a drowned possum. Neither is good for your system’s bacterial balance.
Open the Tank: Inspect Baffles, Levels, and Scum Layer
Once I’ve walked the yard, I open the tank. This is where most homeowners stop and call me, which is completely reasonable — but if you’re comfortable working around your access lid, there’s a lot you can assess yourself. The first thing I check is the inlet and outlet baffles. These are the T-shaped fittings inside the tank that prevent scum from flowing out toward the drain field. In older concrete tanks, these are often cast concrete. In newer systems, they’re typically Schedule 40 PVC, which holds up better.
A damaged or missing outlet baffle is the single most common cause of premature drain field failure I see in the rural Southeast. Without it, grease and solids flow directly into the distribution box and clog your lateral lines. Replacing a baffle costs $150–$350 depending on tank depth and access. Replacing a drain field costs $5,000–$15,000. That math should motivate you to check it every spring.
Also measure your scum and sludge layers if you have a septic stick or can improvise one. EPA guidelines suggest pumping when the combined scum and sludge occupy more than one-third of the tank’s working volume. For a standard 1,000-gallon tank serving a 3-bedroom home, that’s roughly every 3–5 years under normal use. However, if you had guests over the holidays or added a new household member, your timeline may be shorter. Don’t guess — measure.
Safety Warning: Never Enter a Septic Tank
I want to be direct here: do not climb into a septic tank for any reason. Hydrogen sulfide gas accumulates inside tanks and can render you unconscious in seconds at concentrations above 100 ppm. OSHA classifies septic tanks as confined spaces requiring atmospheric testing, ventilation equipment, and a trained attendant outside. Every year, people die trying to rescue someone who collapsed inside a tank. Keep your inspection above grade.
Check Your Spring Septic Startup Checklist: The Mechanical Components
If you have a conventional gravity-fed system, the mechanical checklist is short. However, if you have an aerobic treatment unit (ATU), a mound system with a pump, or a pressure-dosed drain field — which are increasingly common in Alabama, Mississippi, and parts of Georgia where soil conditions demand them — spring startup is more involved. I’ve serviced hundreds of Norweco, Jet, and AquaKlear ATU systems, and every one of them needs a post-winter check on the aerator motor and the effluent pump.
For pump-equipped systems, press the manual test float switch and confirm the pump activates. Listen for the motor — it should hum cleanly without grinding or stuttering. Check the float settings while you’re in there. Floats can shift on their cables over winter if freezing water causes the riser to contract slightly. A misaligned float can cause the pump to run constantly or not at all. Either condition stresses the system and can trigger an alarm.
Also inspect your control panel and alarm system. Most state health department regulations require functioning alarms on pump-equipped systems — in Georgia, for example, Rule 511-3-1 covers individual on-site sewage management systems and mandates audible or visual alarms. Test yours by manually triggering the high-water float. If the alarm doesn’t sound, find out why before you need it to work. A dead alarm is a liability you don’t want.
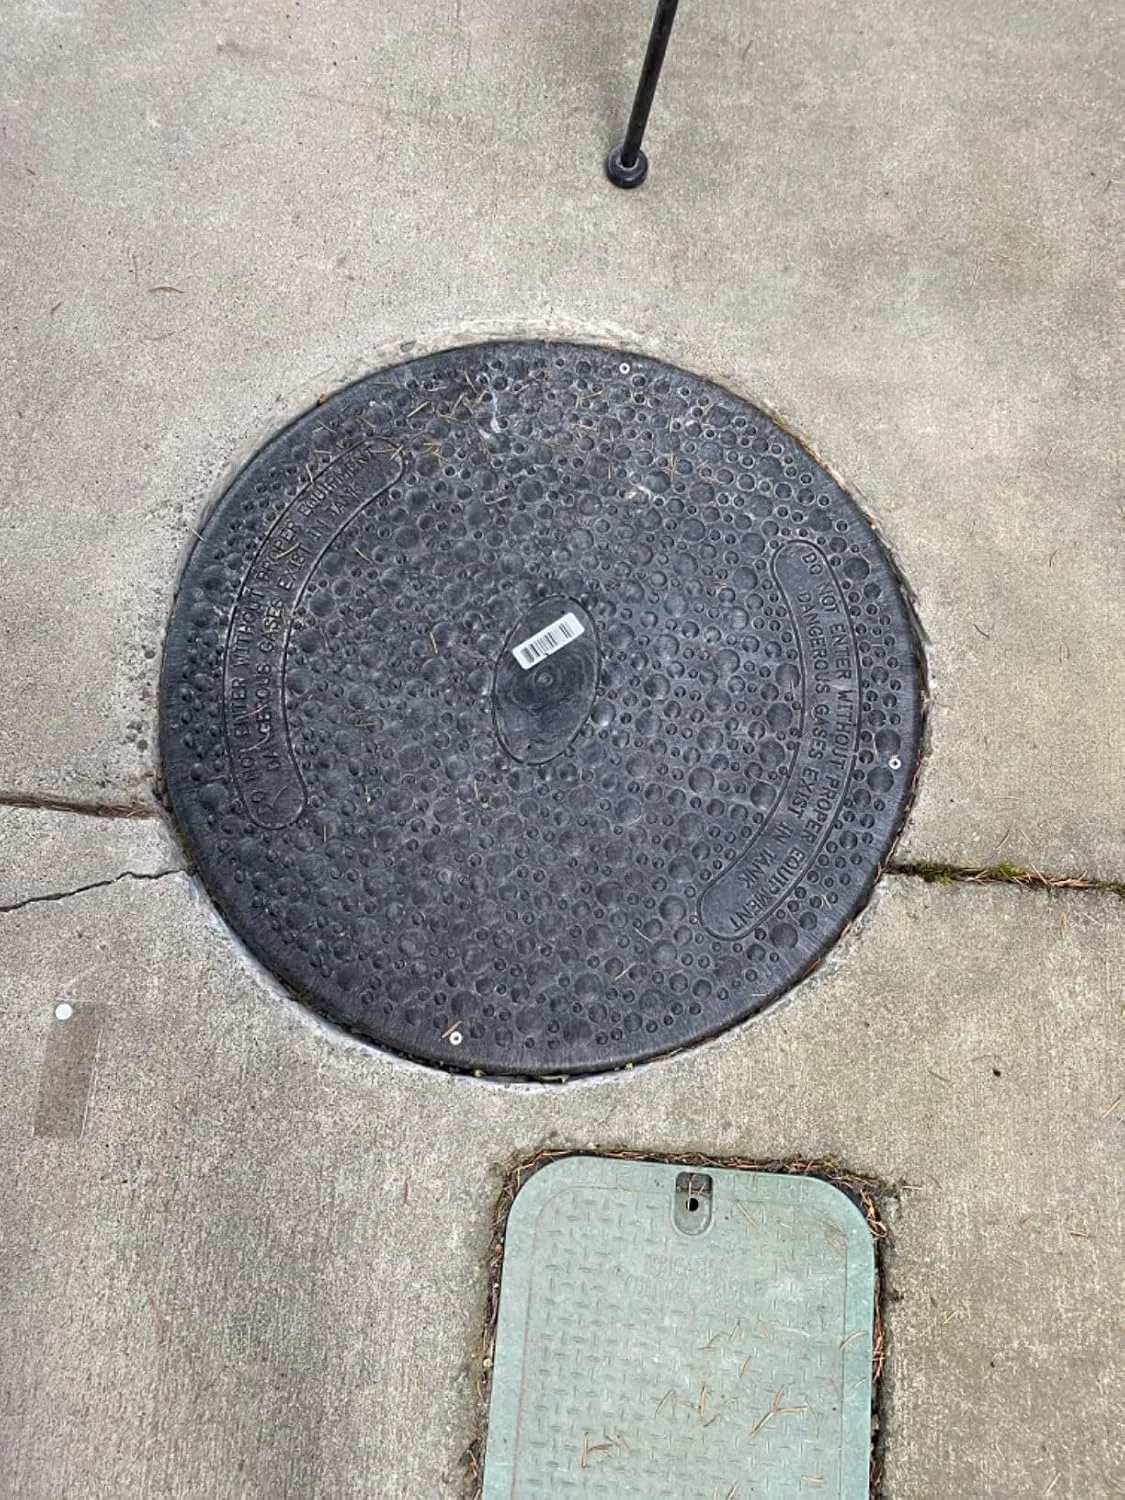
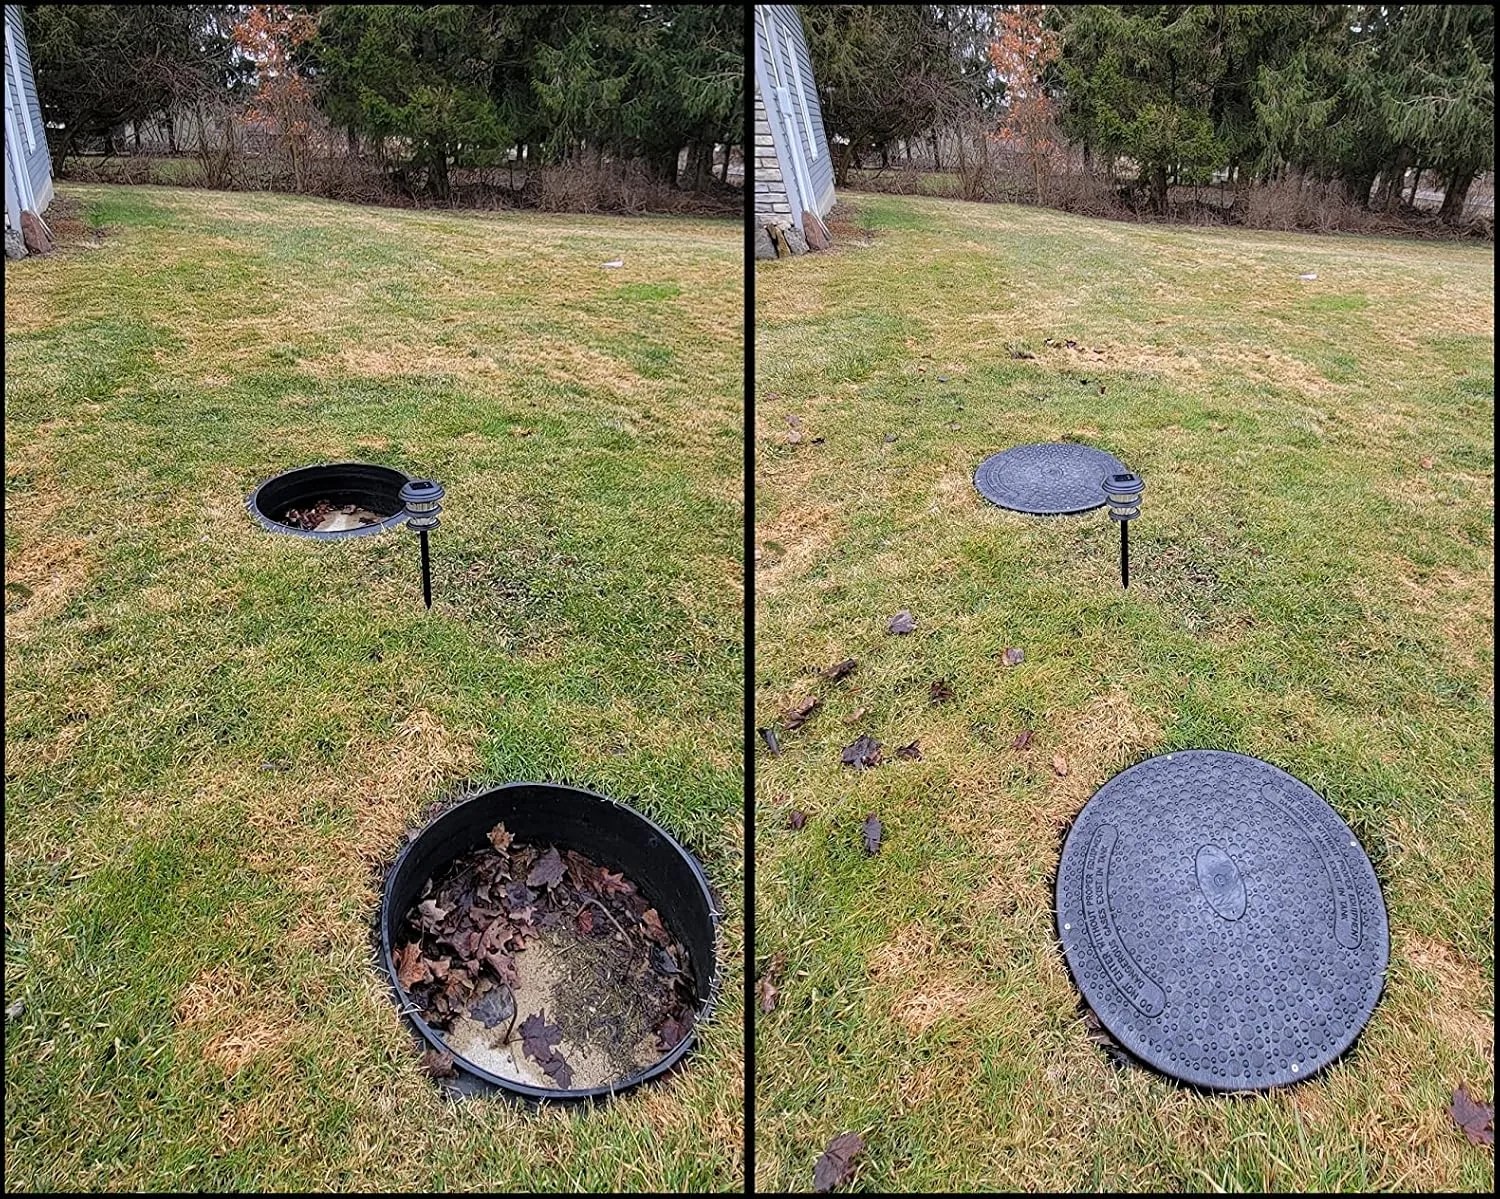
The Tank Cover That Finally Stopped Me From Guessing Where My Access Point Was
Spring cleanup means locating your septic tank—and if you’ve got a sunken or buried access, you’re digging blind. A proper riser cover marks your tank location permanently, so you’re not tearing up your yard every spring looking for the hatch.
What works
- Sits flush above ground so you can spot your tank instantly come spring—no probing or excavation guesswork.
- Durable black plastic won’t rust or rot like metal lids, and it handles freeze-thaw cycles without cracking or warping.
- Locks down securely so kids, pets, or visitors can’t pop the lid open—a real safety issue I see on older systems.
What doesn’t
- Installation requires breaking into an existing tank or pouring a concrete collar—it’s not a five-minute job if you’re retrofitting.
- You’ll still need to coordinate with your pumper truck driver about clearance, so don’t assume this solves every access problem.
I spent one whole spring in 2015 cutting sod in three different spots before I found the tank on a client’s property—a riser would have saved me two hours and a frustrated customer. That’s when I started recommending Jackel Black 24 Inch Diameter Septic Tank Riser Cover (Model SFRC24B) as standard practice.
This post contains affiliate links. As an Amazon Associate, I earn from qualifying purchases at no extra cost to you.