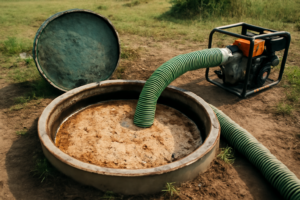
Are you pouring bacon grease down your kitchen sink and hoping your septic system handles it? Two summers ago, I opened a 1,000-gallon tank outside Dothan, Alabama, and found a four-inch layer of congealed fat coating the entire surface — the homeowner had been rinsing cooking oil down the drain for six years without realizing she was slowly destroying her system. Her drain field was already deteriorating. A full replacement in that region would have cost between $8,000 and $15,000. None of that needed to happen. After 15 years in this business, I’ve learned that a grease trap is one of the easiest, cheapest things you can do to protect what’s buried under your yard. Let me show you how to install one.
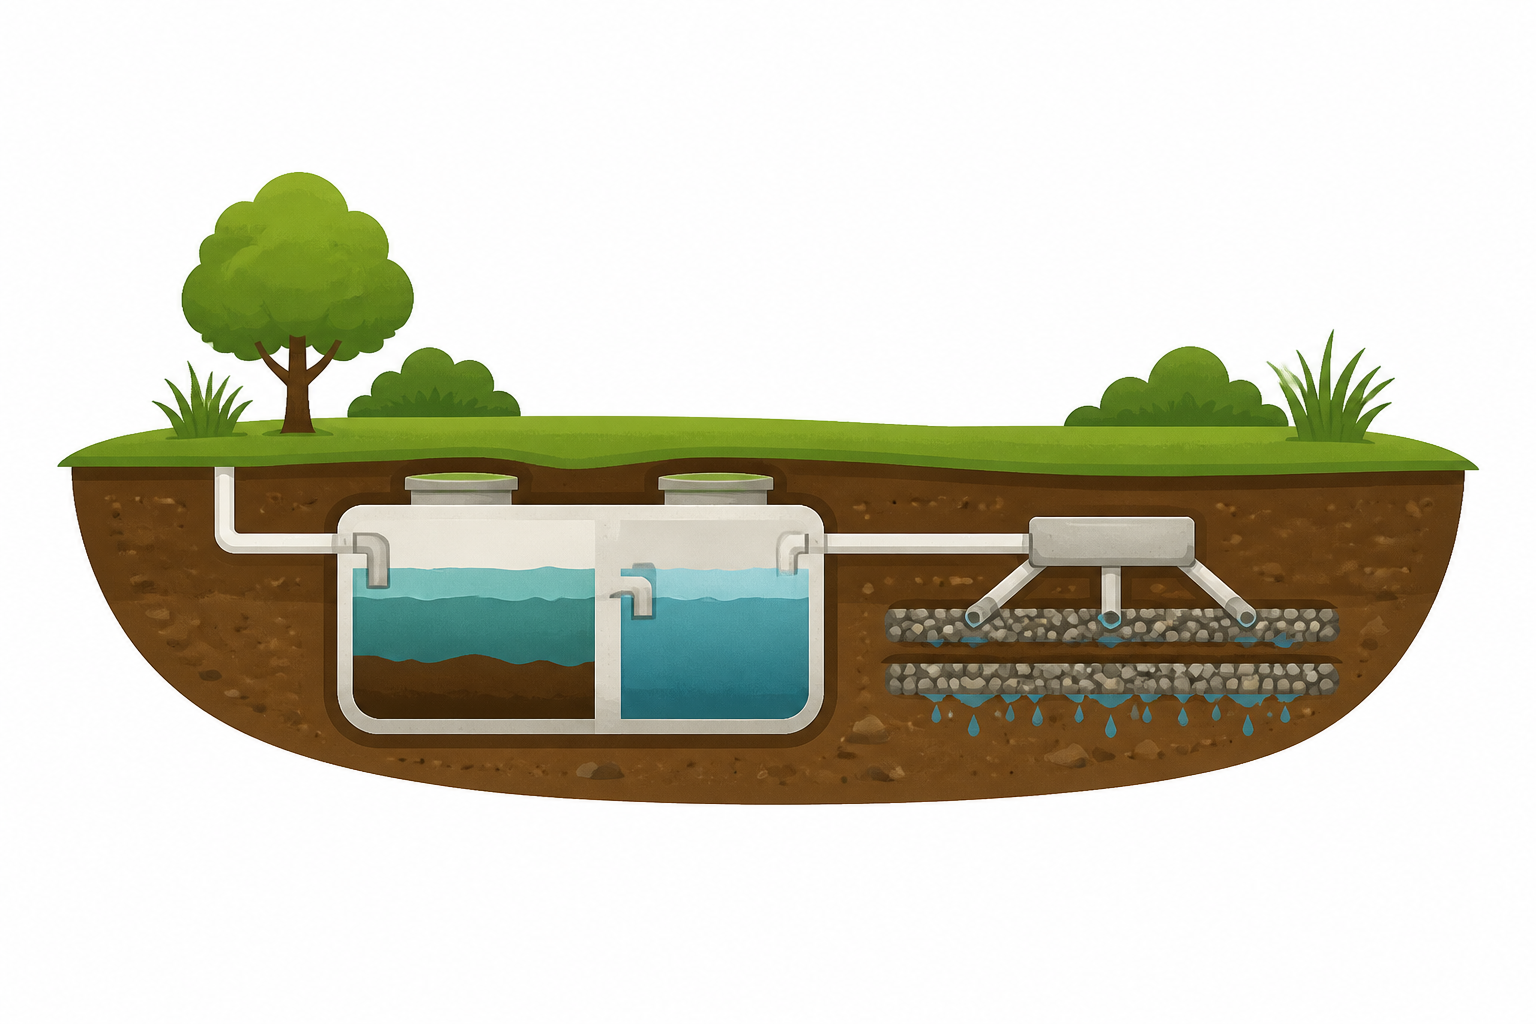
Most homeowners believe their septic tank can digest whatever flows through it. While tanks do separate solids from liquids, they were never engineered to manage the sheer quantity of fats, oils, and grease — FOG in the industry — that modern kitchens produce daily. Once FOG cools inside buried piping or within the tank chamber, it hardens into a waxy buildup. This accumulation coats inlet baffles, restricts outlet tees, and chokes the biological processes happening in your drain field. A grease interceptor positioned between your kitchen’s drain and your septic line catches FOG before it ever enters the tank. It’s affordable, it’s something many homeowners can install themselves, and it actually performs.
Why FOG Destroys Septic Systems Faster Than Almost Anything Else
In my 15 years around rural Southeast systems, I’ve found that the leading culprit for early septic failure isn’t flushed wipes or excessive water volume. It’s grease. Kitchen fats, oils, and grease from routine cooking — the bacon drippings, rendered butter, meat scraps, vegetable oil — homeowners dispose of these down the sink without hesitation every single day.
When FOG leaves your kitchen drain as warm liquid, it flows freely until temperatures drop. That transition happens rapidly in buried drainage pipes, particularly across the rural Southeast where cold weather runs from November through February. As it cools, FOG sticks to interior pipe surfaces, tank walls, and baffle plates. The fatty layer accumulating at your tank’s surface acts as a physical seal, preventing oxygen from moving through and suffocating the beneficial bacteria that work near the top. Tank digestion capacity plummets as a result. Organic matter that should decompose remains intact, and this overflow starts migrating toward your drain field.
The EPA’s Onsite Wastewater Treatment Systems Manual identifies FOG as a significant threat to system longevity and advises that residential kitchens connected to septic should have interceptors. Health departments across Georgia, Alabama, Mississippi, and the Carolinas increasingly flag FOG buildup when they conduct inspections. Certain counties have already begun requiring interceptors on properties with commercial kitchens or food service. Even without a local mandate, safeguarding your system against FOG ranks among the smartest maintenance choices available.
How a Residential Grease Trap Actually Works
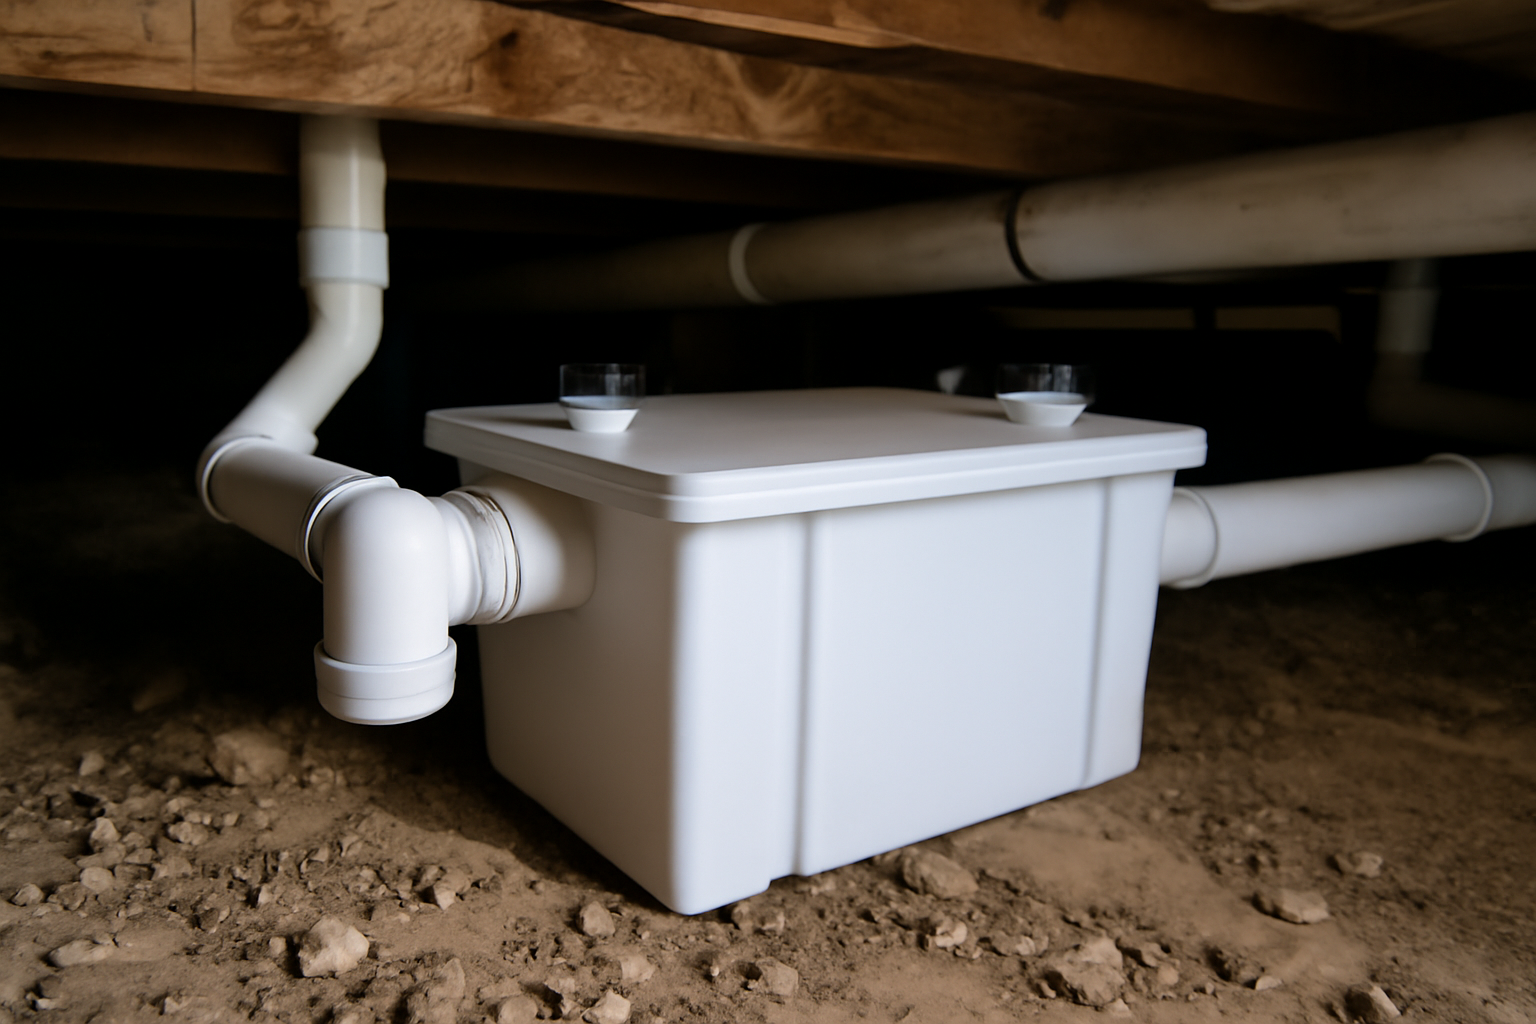
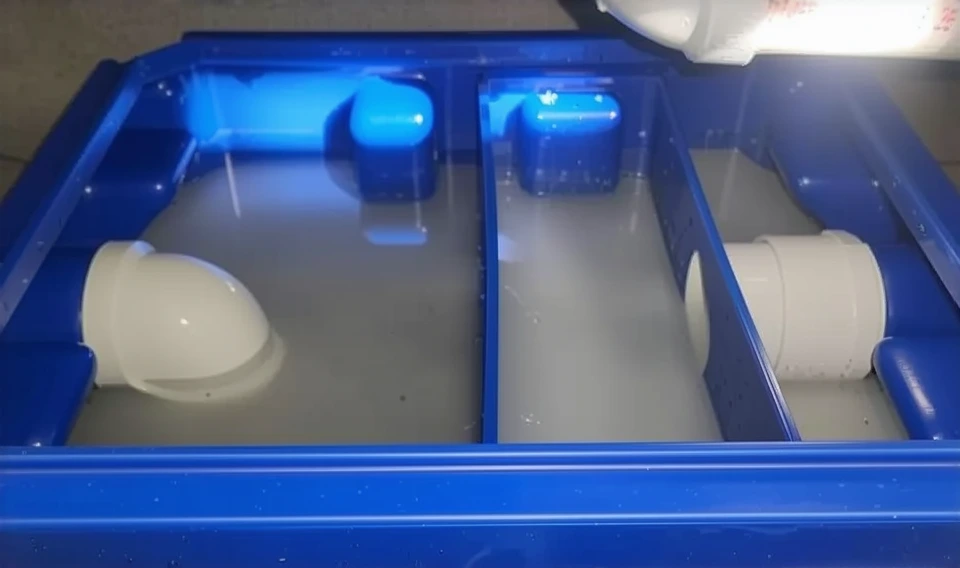
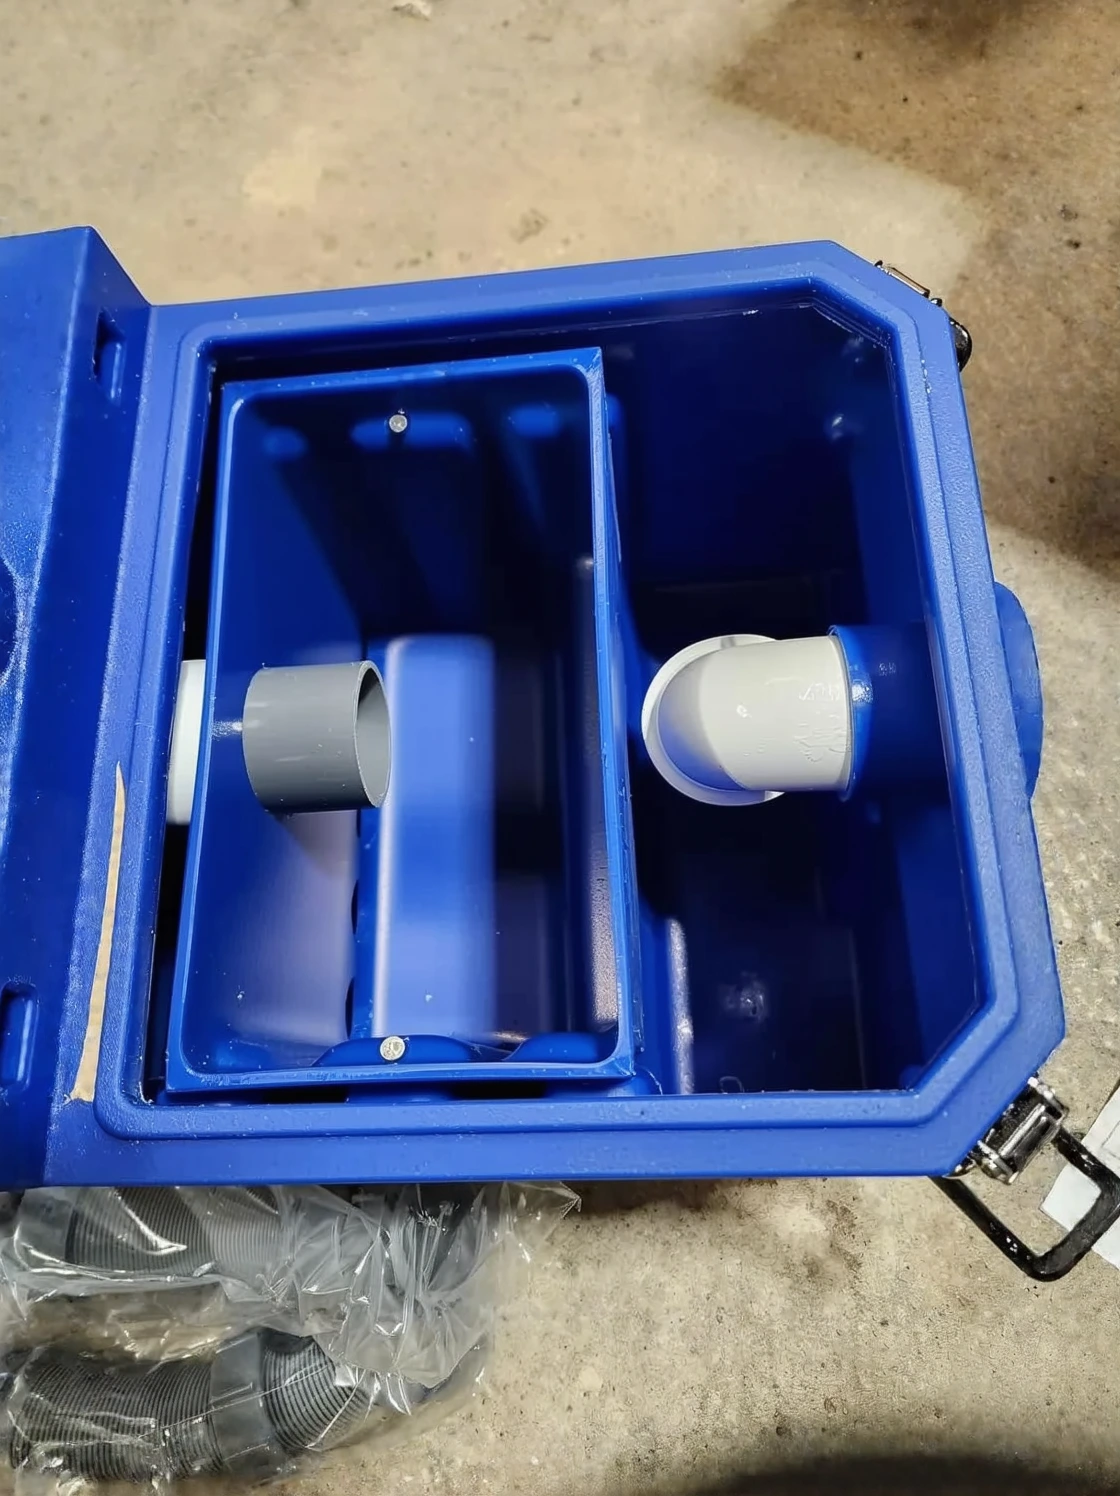
A grease trap — formally termed a grease interceptor — is a plumbing component that reduces wastewater velocity long enough for FOG to rise and separate from the water column while treated liquid flows onward to the septic line. The mechanism relies on basic density differences: grease floats because it’s lighter than water, so a slight pause allows it to accumulate at the top. The device collects this FOG in its chamber. Cleaned water descends past a baffle and continues its route toward your tank.
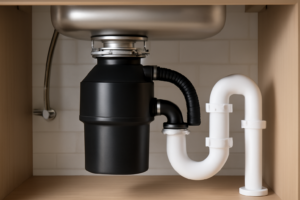
Residential undercounter models carry ratings for both flow capacity — expressed as gallons per minute, or GPM — and the weight of grease they’ll retain before requiring emptying, measured in pounds. A typical home kitchen generates far less FOG than commercial establishments, so a compact 3 to 4 GPM interceptor handles one sink adequately. These units stay compact, fit within standard cabinet dimensions, and splice into your drain line right after the sink’s P-trap and before it reaches the wall penetration. No power supply. No complex plumbing. Simply a stationary apparatus doing its job silently every time you wash dishes.
Regular emptying keeps the trap functioning — expect to clean it every one to three months based on cooking frequency and volume. The process involves opening the lid, scraping out the solidified grease, and rinsing the interior. Place collected FOG into a sealed bag or container destined for trash. Reintroducing it into your drains defeats the entire purpose. From what I’ve observed, families that deep-fry regularly or prepare rich soups should empty monthly. Those doing lighter cooking can typically wait two to three months between cleanings.
How to Install a Grease Trap on a Septic Line: Step-by-Step
Below is the standard undercounter installation procedure, the same guidance I’ve passed along to homeowners over the years. If you’re comfortable doing basic plumbing work, this is typically a two-hour project. Gather these tools beforehand: a pipe wrench or adjustable pliers, plumber’s thread seal tape, PVC solvent and primer if your piping is PVC, and a bucket for draining standing water.
Step 1: Identify Your Install Point
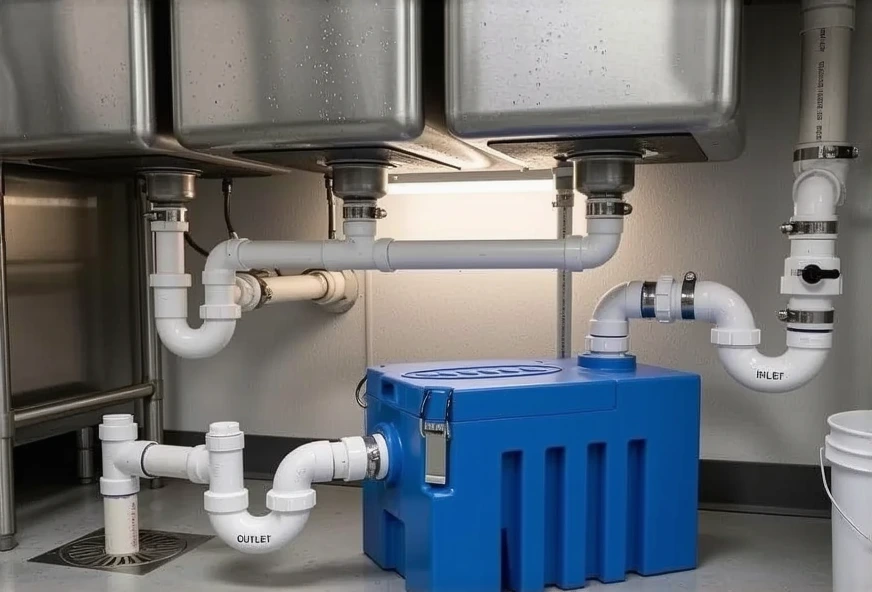
Position your interceptor between the sink’s P-trap outlet and where your drain exits through the wall cavity. Placement matters — you want it immediately downstream of the sink so wastewater remains hot and FOG stays liquid as it enters the trap. Take measurements of your under-sink area to confirm the interceptor will fit without obstructing cabinet doors or existing plumbing.
Step 2: Shut Off Water and Clear the Cabinet
The water shutoff main is unnecessary for this particular task — you’re accessing drain piping, not supply lines. Simply refrain from using the sink during your work session. Empty everything stored underneath. Before loosening any connections, position a bucket underneath the P-trap to collect the water sitting inside it. That residual liquid will spill when you disconnect, and a bucket keeps your cabinet dry.
Step 3: Disconnect the Existing Drain Configuration
Unscrew the slip-nut fasteners that hold your P-trap to both the tailpiece coming from the sink and to the wall’s drain stub. Withdraw the complete P-trap unit. Set aside the removed fittings — you might require them when setting up your new drain path. Take a photo of the original arrangement before taking it apart. This snapshot becomes invaluable for reconstructing everything correctly in a confined space.
Step 4: Install the Grease Trap
Mount your interceptor in the space between the old P-trap connection point and the wall drain outlet. Your unit will have designated inlets and outlets — inlet faces the sink direction, outlet points toward the wall. Apply thread sealant tape to every threaded junction. Hand-tighten all connections with firm pressure but without forcing plastic components. Reattach the P-trap between the sink’s discharge tailpiece and the interceptor’s inlet. Turn on warm water and examine every connection point for leakage before closing cabinet doors.
Step 5: Test and Label
Let hot water flow for approximately two minutes, monitoring all joints for drips. Follow this by pouring a quart of warm water containing a tablespoon of cooking oil — you should observe this oil settling inside your trap’s collection chamber during your first maintenance session. Write the installation date on a sticker and affix it to the unit. Program a calendar notification for your first cleaning thirty days ahead. Your first hands-on cleaning will reveal what interval works best for your household’s cooking patterns.
The Under-Sink Trap That Catches Grease Before It Ever Reaches Your Tank
Positioning an interceptor right where the problem originates — beneath your kitchen sink — intercepts FOG at the source before it damages anything downstream. I discovered through experience that investing fifty dollars in prevention beats paying tens of thousands later when your tank is clogged with years of accumulated fat.
What works
- Mounts directly underneath your sink with straightforward top-access design—you avoid cutting into your main drainage or calling a contractor for basic setup.
- The 3 GPM specification handles typical residential sink flow without causing water to drain slowly or back up into your basin during normal kitchen use.
- Accessibility from beneath the cabinet makes periodic grease removal straightforward — you can extract and clean the trap quickly every month or two before accumulated material hardens into stubborn deposits.
What doesn’t
- Effectiveness depends entirely on consistent upkeep—extended gaps between emptying permit accumulated material to solidify, creating a maintenance headache when you finally open it back up.
- Limited cabinet space can pose a challenge if your under-sink area houses a garbage disposal, water filter, or additional plumbing components competing for room.
I almost skipped installing one of these on a rental property because I thought it was overkill—until the tenant called me three months later about a backed-up kitchen drain. That’s when I realized my five minutes of hesitation nearly cost me a $400 tank cleaning. Grab the Grease Trap Plastic 3 GPM Under Sink for Home Kitchen — Top Connection Type and install it now.
Sources and further reading
About This Article

Written by Joel Grayson. Rural property owner who learned septic systems the hard way after my own failed 15 years ago. I created Backyard Septic to give homeowners honest, practical guidance on septic installation, maintenance, and troubleshooting. More about this site.
Scope and limits. Joel is an experienced rural property owner, not a licensed septic inspector. Have a licensed septic professional handle pumping, permits, and any diagnosis you plan to act on — and never enter a tank.
Verify this against a primary source
Specifics change, and your situation may differ from the one described here. These are the authorities worth checking directly:
- EPA SepticSmart — septic system care, inspection intervals and failure signs
- NSF International — treatment unit and tank certification standards