This post contains affiliate links. As an Amazon Associate, I earn from qualifying purchases at no extra cost to you.
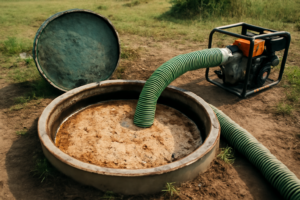
Last spring I pulled the lid off a 1,000-gallon tank on a property outside of Dothan, Alabama, and the first thing that hit me — besides the smell — was a solid gray crust of congealed grease floating nearly four inches thick across the entire surface. The homeowner had no idea. She’d been rinsing bacon drippings down the drain for six years and figured the septic system was “handling it.” It wasn’t. That grease mat was smothering the natural bacterial action inside the tank, and her drain field was already showing signs of early failure. A full system replacement in rural Alabama runs $8,000 to $15,000 depending on soil type and lot size. All of that was potentially avoidable. That’s why I want to talk about how to install a grease trap on a septic system — because in 18 years of doing this work, it’s one of the simplest preventive measures a homeowner can take.
Most people assume their septic tank is built to handle everything that goes down the drain. Technically, it separates solids and liquids. However, it was never designed to process the volume of fats, oils, and grease — what the trade calls FOG — that a modern kitchen produces. When FOG cools inside your drain line or inside the tank itself, it solidifies. Over time, it coats your inlet baffle, clogs your outlet tee, and chokes the biological layer in your drain field. Installing a grease trap between your kitchen drain and the septic line intercepts that FOG before it ever reaches the tank. It’s cheap, it’s DIY-friendly, and it works.
Why FOG Destroys Septic Systems Faster Than Almost Anything Else
Here’s what 18 years taught me: the single most common cause of premature septic failure on residential properties in the rural Southeast isn’t flushing wipes or overloading the system with water. It’s grease. Specifically, it’s the slow, invisible accumulation of fats, oils, and grease from everyday cooking. Bacon fat, butter, meat drippings, cooking oil — homeowners rinse these down the sink every single day without a second thought.
Once FOG enters your drain line, it travels in warm liquid form until it cools. That happens fast in buried pipe, especially in the Southeast where we get cold snaps between November and February. As it cools, it adheres to pipe walls, inlet baffles, and tank surfaces. The grease mat that forms on top of a septic tank’s liquid level physically blocks oxygen exchange and kills off the aerobic bacteria working near the surface. As a result, your tank’s digestion efficiency drops sharply. Solids that should break down don’t, and they start pushing into your drain field.
The EPA’s Onsite Wastewater Treatment Systems Manual specifically calls out FOG as a major contributor to system failure and recommends interceptors for residential kitchens connected to septic. Many county health departments in Georgia, Alabama, Mississippi, and the Carolinas have started flagging FOG accumulation during routine inspections. In some counties, commercial-adjacent properties are now required to have interceptors installed. Even if your county doesn’t mandate it yet, protecting your system from FOG is simply smart maintenance.
How a Residential Grease Trap Actually Works
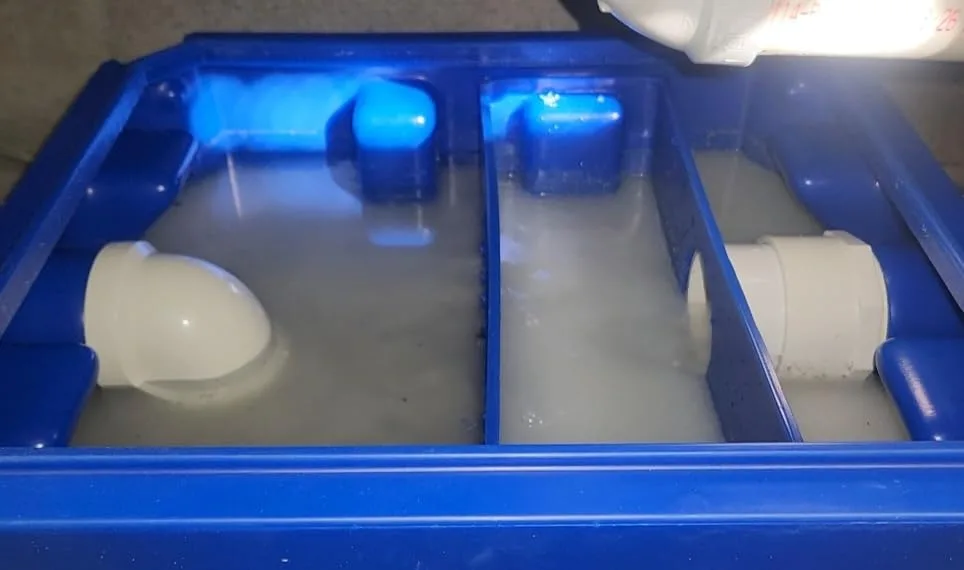
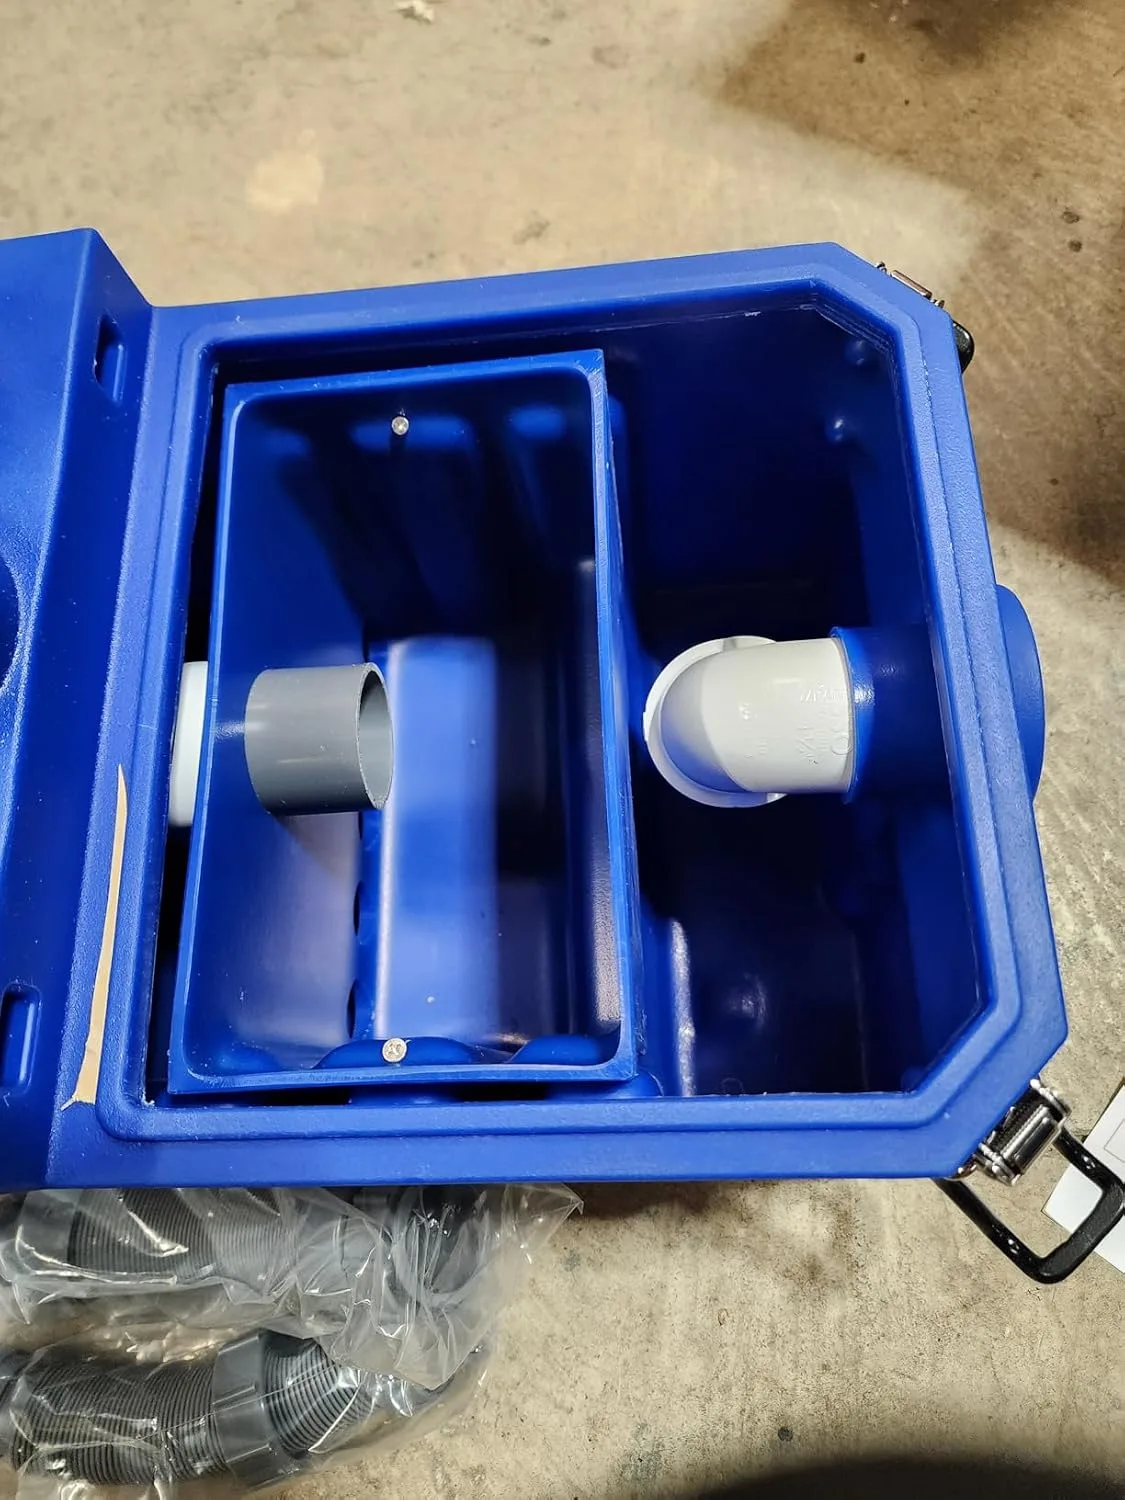
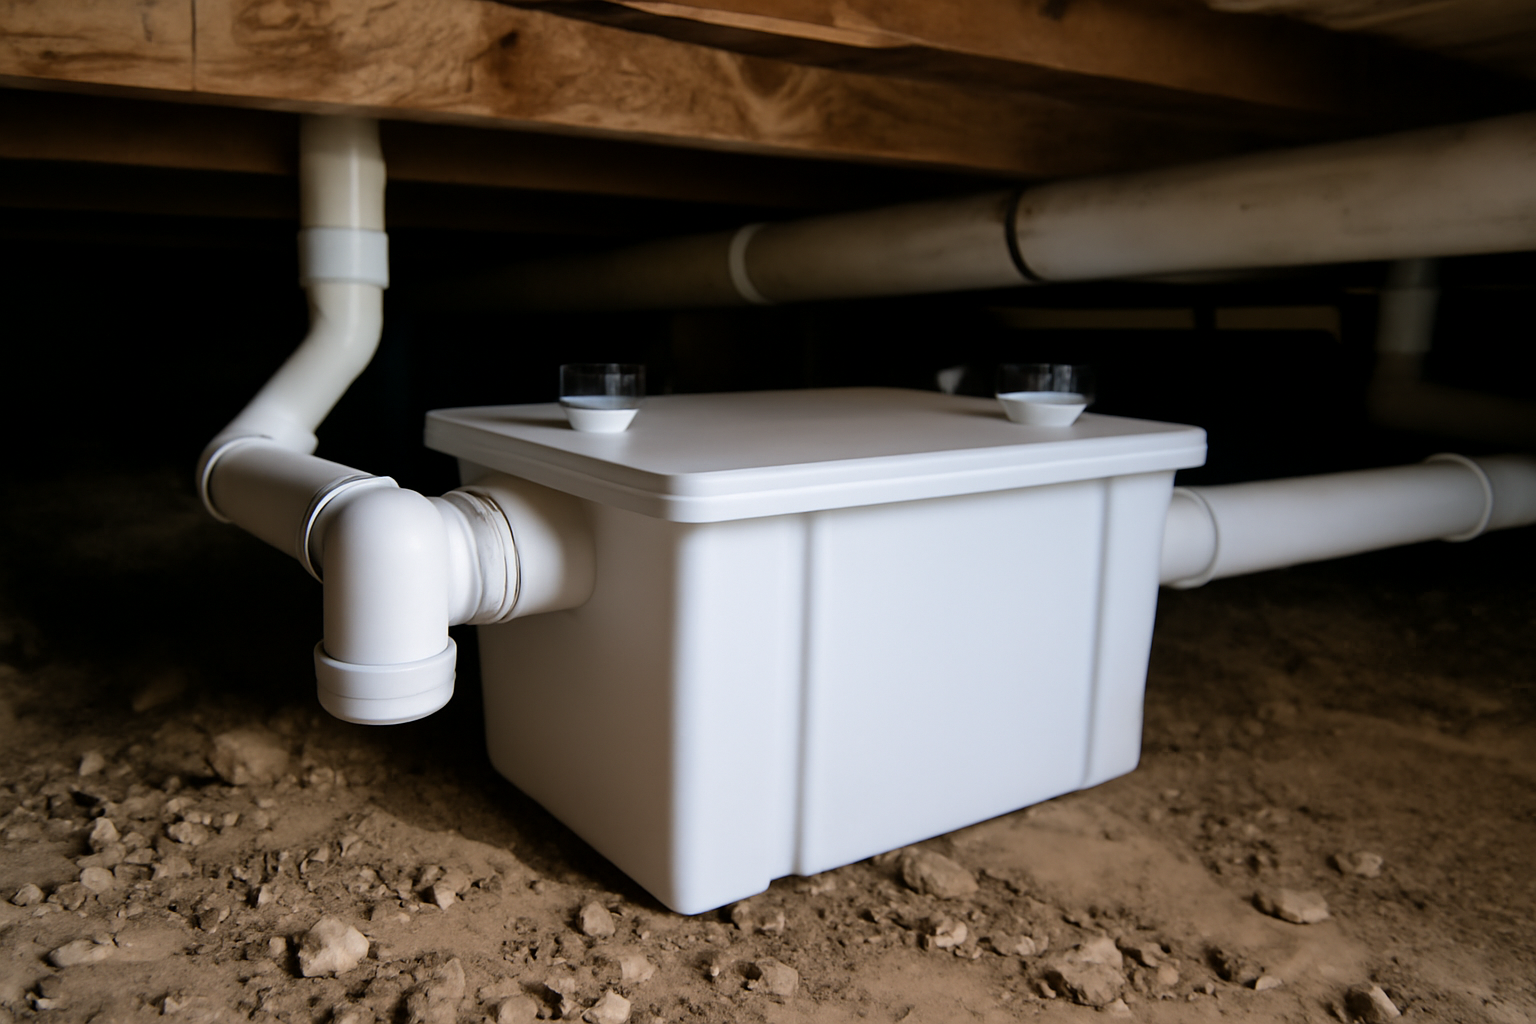
A grease trap — technically called a grease interceptor — is a plumbing device that slows the flow of warm wastewater just enough to allow FOG to separate and float to the top while water continues flowing through to the drain line. The physics are simple. Grease is less dense than water, so given a moment to slow down, it rises. The trap captures it in a contained chamber. Clean water exits through a baffle at the bottom and continues toward your septic tank.
Residential under-sink units are rated by flow rate — measured in gallons per minute (GPM) — and by grease capacity, measured in pounds. A standard home kitchen produces far less FOG than a restaurant, so a small 3 to 4 GPM unit is typically sufficient for a single kitchen sink. These units are compact, designed to fit under the cabinet, and connect directly into your drain line between the sink P-trap and the wall stub-out. That’s it. No electrical connections. No complicated fittings. Just a passive mechanical device doing quiet, important work every time you rinse a pan.
The trap needs cleaning periodically — typically every one to three months depending on your cooking habits. You simply unscrew the lid, scoop out the accumulated grease, and rinse the unit. Dispose of the collected FOG in a sealed container in the trash. Never pour it back down the drain. In my experience, homeowners who cook heavily — frying chicken, making soups with fatty meats — should clean their trap closer to monthly. Light cooks can often stretch to every two to three months.
How to Install a Grease Trap on a Septic Line: Step-by-Step
I’m going to walk you through a standard under-sink installation. This is the same process I’ve described to dozens of homeowners over the years, and with basic plumbing comfort, it’s genuinely a two-hour DIY job. Tools you’ll need: a pipe wrench or channel-lock pliers, Teflon tape, PVC primer and cement if you’re working with PVC, and a bucket for catching residual water.
Step 1: Identify Your Install Point
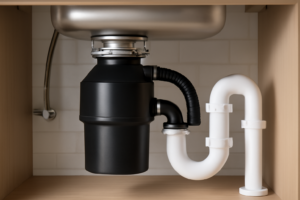
The trap installs between your kitchen sink’s P-trap and the drain stub-out in the wall. You want it as close to the sink as possible — that keeps the wastewater warm and ensures the grease is still liquid when it hits the interceptor. Measure your available space under the cabinet. Most residential units are compact enough to fit easily, but verify clearances before ordering.
Step 2: Shut Off Water and Clear the Cabinet
You don’t need to shut off the main water supply for this job — you’re working on the drain side, not supply lines. However, run no water during the install. Clear everything out from under the sink. Place a bucket under the P-trap before disconnecting anything. There will be standing water in that trap, and you want it in the bucket, not on your cabinet floor.
Step 3: Disconnect the Existing Drain Configuration
Loosen the slip-joint nuts connecting your P-trap to the drain tailpiece and to the wall stub-out. Remove the P-trap assembly. Keep the components — you may need them to adjust the new configuration. Take a photo of the existing setup before disassembly. That photo has saved me more than once when reassembling a drain layout under a cramped cabinet.
Step 4: Install the Grease Trap
Position the trap inline between where the P-trap outlet was and the wall stub-out. The unit will have a marked inlet and outlet — inlet connects toward the sink, outlet connects toward the wall. Use Teflon tape on all threaded connections. Tighten fittings firmly but don’t overtorque plastic threads. Reconnect the P-trap between the sink tailpiece and the trap inlet. Run a bead of water and check every joint for drips before closing up the cabinet.
Step 5: Test and Label
Run hot water for two minutes and watch all connections. Then run a pot of warm water with a small amount of cooking oil mixed in — you should see the oil collecting in the trap’s upper chamber during your first maintenance check. Label the trap with the install date and set a phone reminder for your first cleaning in 30 days. After that first check, you’ll know your cleaning interval based on actual accumulation.
The Under-Sink Trap That Catches Grease Before It Ever Reaches Your Tank
Installing a grease trap right at the source — under your kitchen sink — stops the problem before it starts. I learned the hard way that waiting until you’ve got four inches of congealed fat clogging your main tank is infinitely more expensive than spending fifty bucks on prevention.
What works
- Sits directly under the sink with a simple top-connection design—no need to break into your main line or hire a plumber for the install.
- The 3 GPM flow rate matches standard kitchen sink drainage, so you won’t get slow drains or backups during normal use.
- You can see and access the trap from below the cabinet, making it dead simple to pull it out every month or two and wipe out the collected grease before it solidifies.
What doesn’t
- It only works if you actually maintain it—skip cleanings for more than a few months and you’ll still get buildup that hardens and becomes a pain to scrape out.
- If your under-sink cabinet is already tight on space with a disposal or other plumbing, fitting this trap can feel like a puzzle.
I almost skipped installing one of these on a rental property because I thought it was overkill—until the tenant called me three months later about a backed-up kitchen drain. That’s when I realized my five minutes of hesitation nearly cost me a $400 tank cleaning. Grab the Grease Trap Plastic 3 GPM Under Sink for Home Kitchen — Top Connection Type and install it now.
This post contains affiliate links. As an Amazon Associate, I earn from qualifying purchases at no extra cost to you.